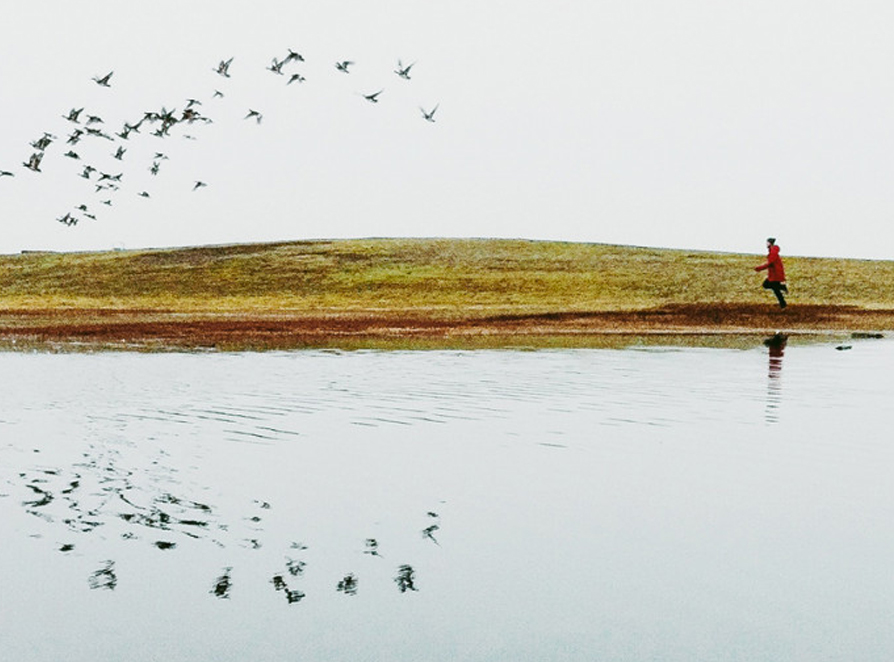
"Photographs capture a moment that's gone forever, impossible to reproduce." Karl Lagerfeld's words still hold true today.
Even as photographic technology changes and mobile phone cameras become more sophisticated, it's still up to the photographer to find those unique moments with the power to move and inspire us.
But how to go about capturing them?
We've spoken to some of the world's leading mobile phone photographers to find out their techniques for perfect composition, lighting and processing. Here are their 16 tips and tricks, guaranteed to reveal your inner photographer.
Composition
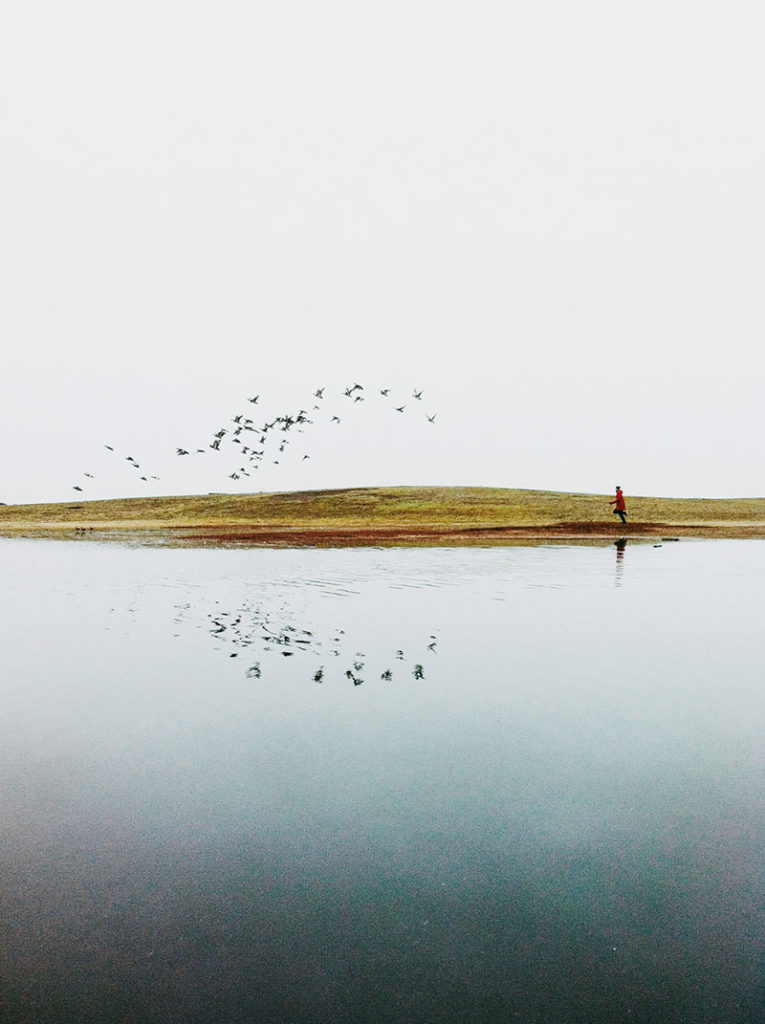
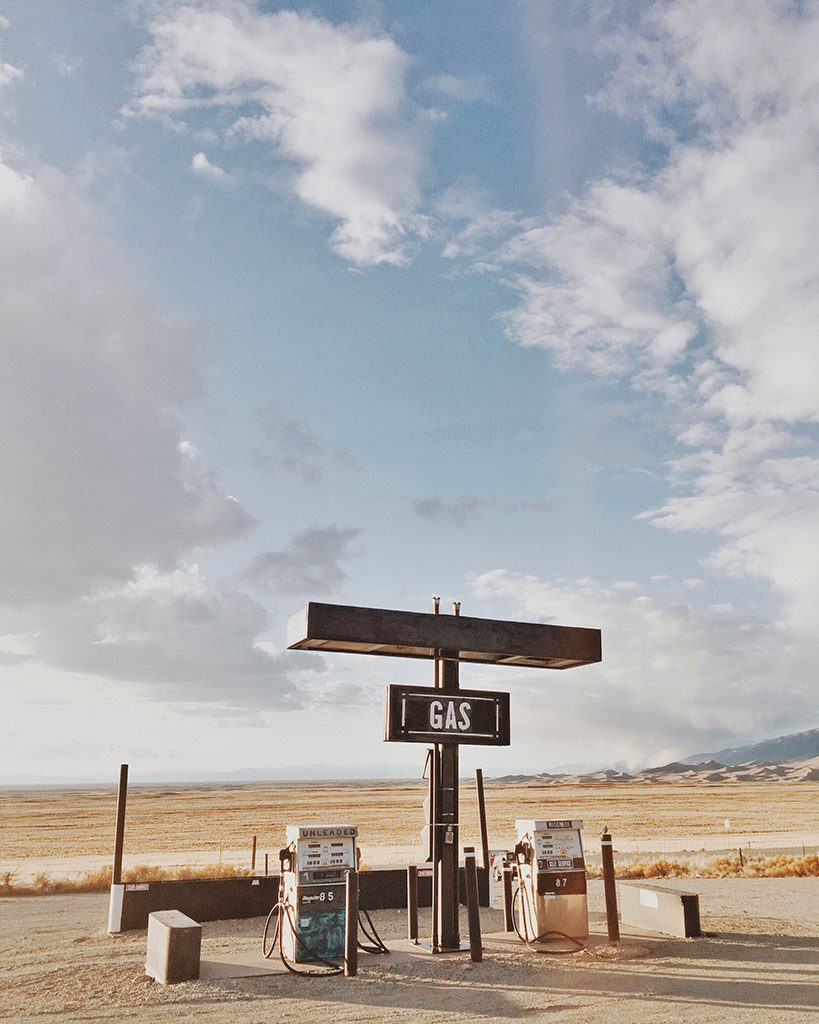
1. LESS IS MORE
iPhone Photography tip by @BENNNNNNNNGIE
My favourite mobile phone photos are often the more minimalistic ones.
Keeping your compositions simple without too much going on in your frame makes it easy for your viewer to breakdown and relate to your image. Next time you're framing up a shot, take the extra time to try and avoid including too many irrelevant things (eye sores) in the background or foreground (cars, garbage cans, lamp posts etc) and you'll end up with a nice clean looking shot.
2. INCLUDE PEOPLE IN YOUR SHOTS
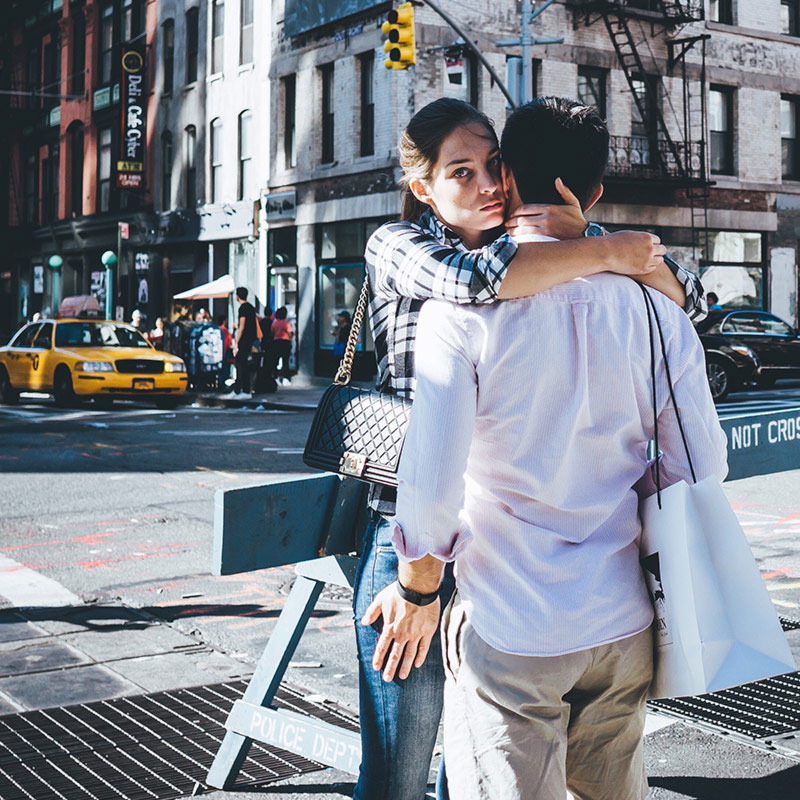
iPhone photography tip by @MONARIS_
Street photography can be very challenging and intimidating. You can start off by photographing people from a distance; always keeping in mind composition and scale.
As you build more confidence, try to get shots of people from a closer perspective.
One of the most important aspects of this is capturing their body language, and facial expressions. Different kinds of people will tell different kinds of stories. It is all about visual storytelling and creating connections with strangers.
Photo editor tools > Hipstamatic is a great app for street photography. It has an endless variety of lenses and film combinations.
3. ADD SOME MAGIC WITH A FRAME
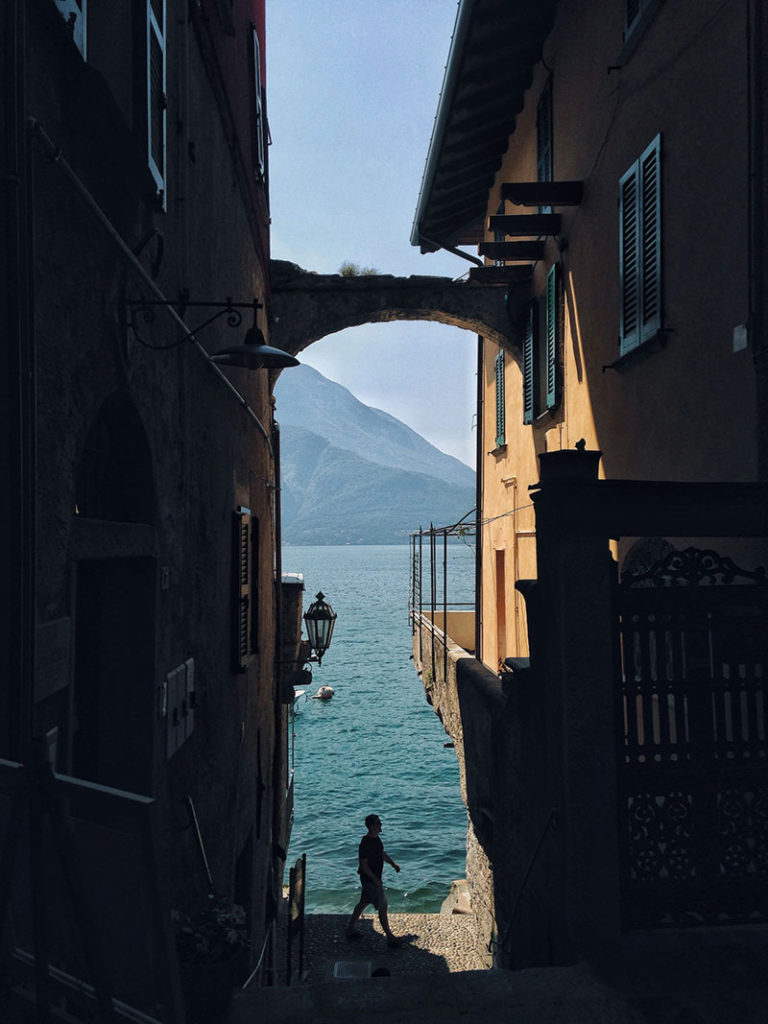
iPhone photography tip by @LAVINIA_CERNAU
Sometimes your subject pops in unexpectedly into a frame - make the most of it! It will add that bit of magic to an otherwise still photograph. Make sure you integrate it nicely, take several shots for a perfect pose.
Photo editor tools > I used Snapseed as I always do and a touch of a VSCO filter - a touch because natural light did most of the job, I only enhanced and softened the tones here.
4. FRAME YOUR SUBJECT
iPhone photography tip by @BENNNNNNNNGIE
I'd say this is probably the most important rule when it comes to shooting on your phone or any other of camera.
If you end up at a location that has a bit more going on in the scene, try to frame up your subject on a clean light background. This instantly draws the viewers focus to the subject and keeps them from getting lost in the noise. I often use this technique while shooting larger scenes and landscapes that include a very small subject.
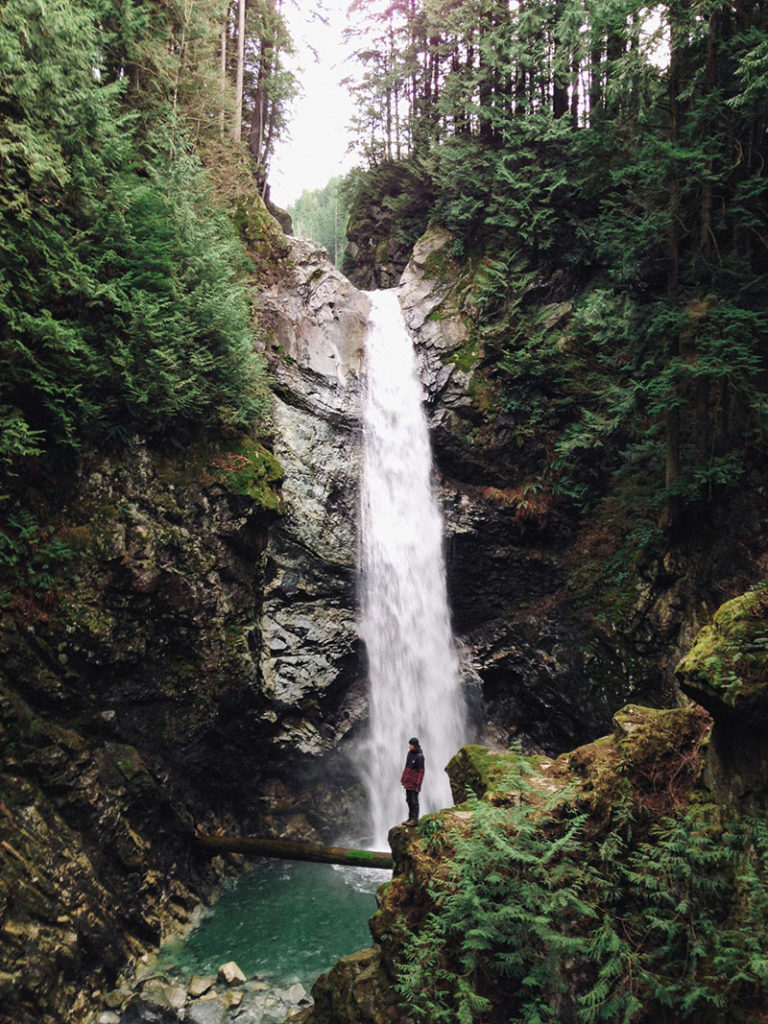
5. SYMMETRY IS FUNDAMENTAL TO GETTING A GOOD PHOTO
iPhone photography by @ANDDICTED
You should always try to get your lines as straight as you can by holding your phone still in your hands and right in front of the object you're shooting.
Photo editor tools > Enable the camera grid in your settings, so you'll be able to get the lines straight even before you're shooting. And for some final adjustments, SKRWT is the app to use. The results will be impeccable.
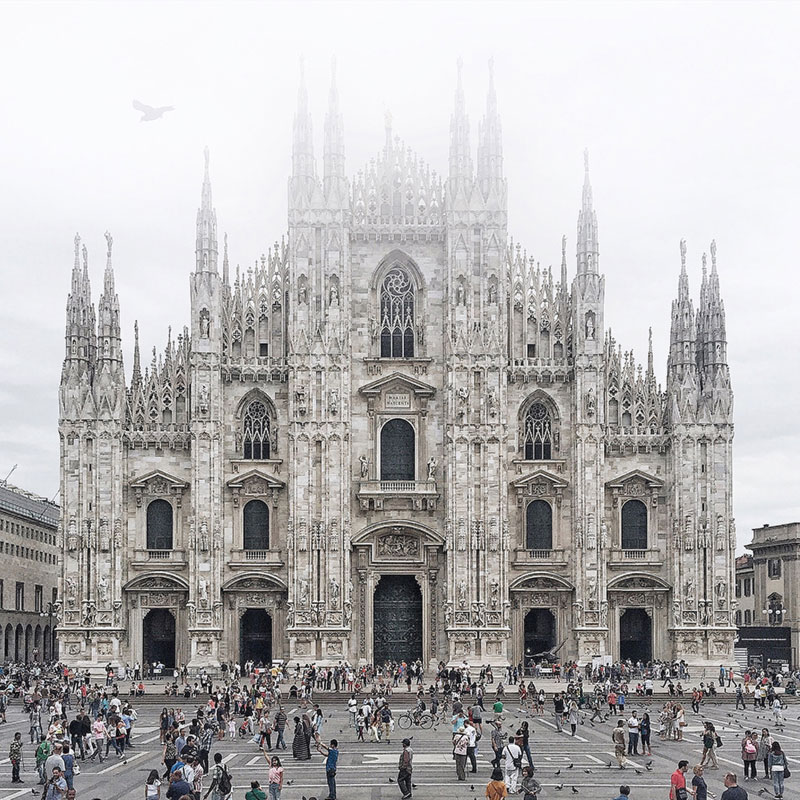
6. FIND A SUBJECT
iPhone photography tip by @JOELBEAR
As a photographer I am always looking for a subject and then using light and lines to guide the viewer eye to the subject. First, start by using your own eyes and identify a subject. It can be a cat, the sun on a tree or the blue mirror on a car, you get the point.
Second, find a way to isolate the subject.
I might be moving the subject to the shade or sunlit, if its orange by placing it front of something blue or framing your subject where the lines in the frame lead to it.
Third, use your grid in your camera to see if the image need balance or a crop. This will help you identify your subject because, subjects tell story.
Photo editor tools > Editing: VSCO for colour. Snapseed for exposure. White Gram for editorial cropping.
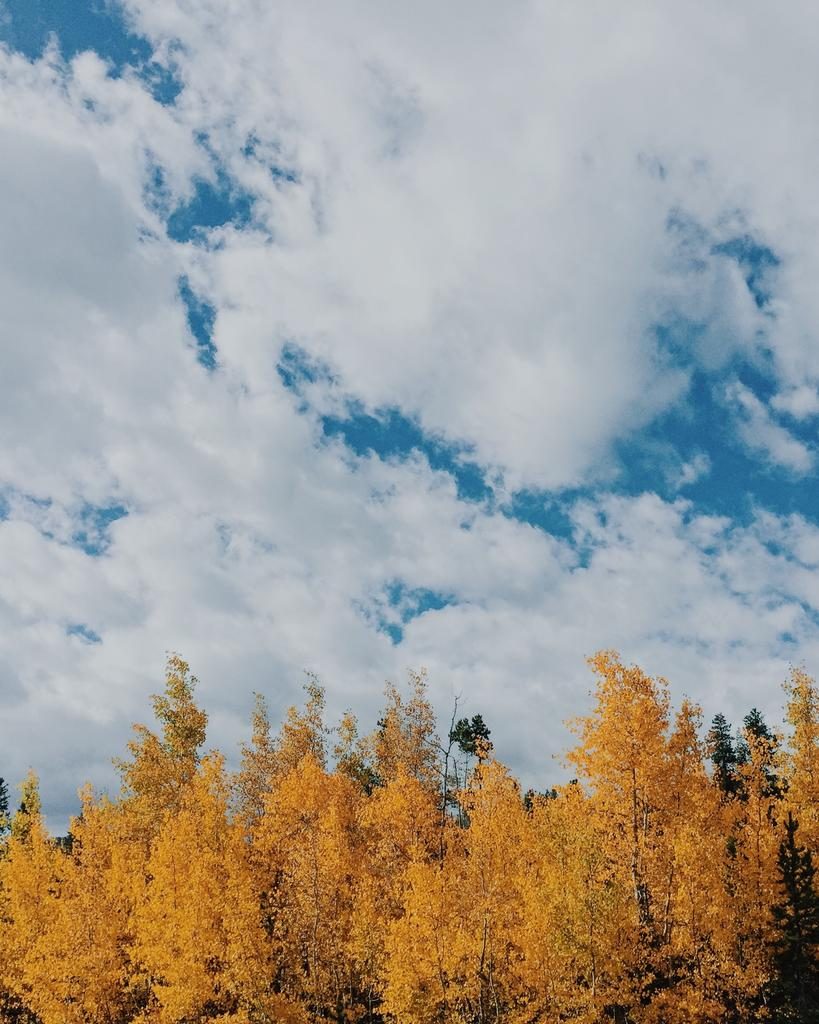
7. THE RULE OF THIRDS
iPhone photography tip by @LOUISELJ
A classic photography tip that still works: try the rule of thirds. Use the grid on your iPhone camera and place the object your shooting top third or bottom third of the frame. This makes a more compelling, dynamic image.
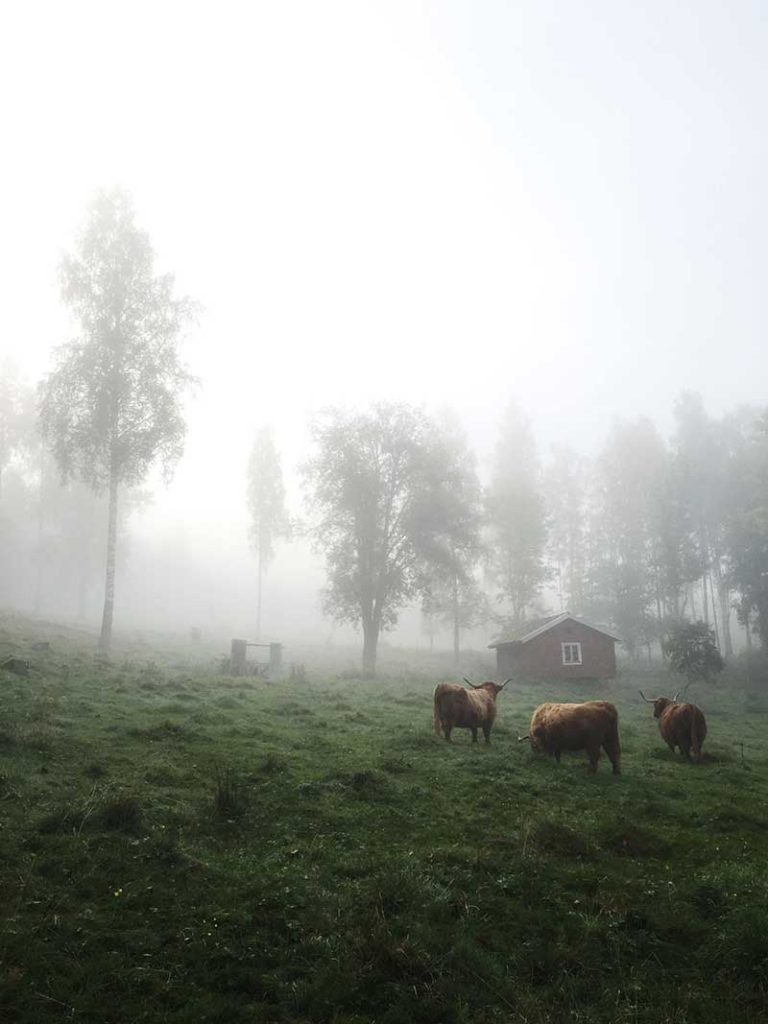
8. design is king in photography
When taking a photo on a mobile device we're shooting at around 29mm which means there can be a ton of information in the photograph. This isn't a bad thing but it can easily lead the viewer to distraction and misunderstanding of what the subject and story is. Using elements like leading lines, rule of thirds, colour theory and simple shapes will help direct the viewers eye and tell the story with ease and sophistication.
iPhone Photography Tips on Light
9. TAKING PHOTOS IN HARSH LIGHT
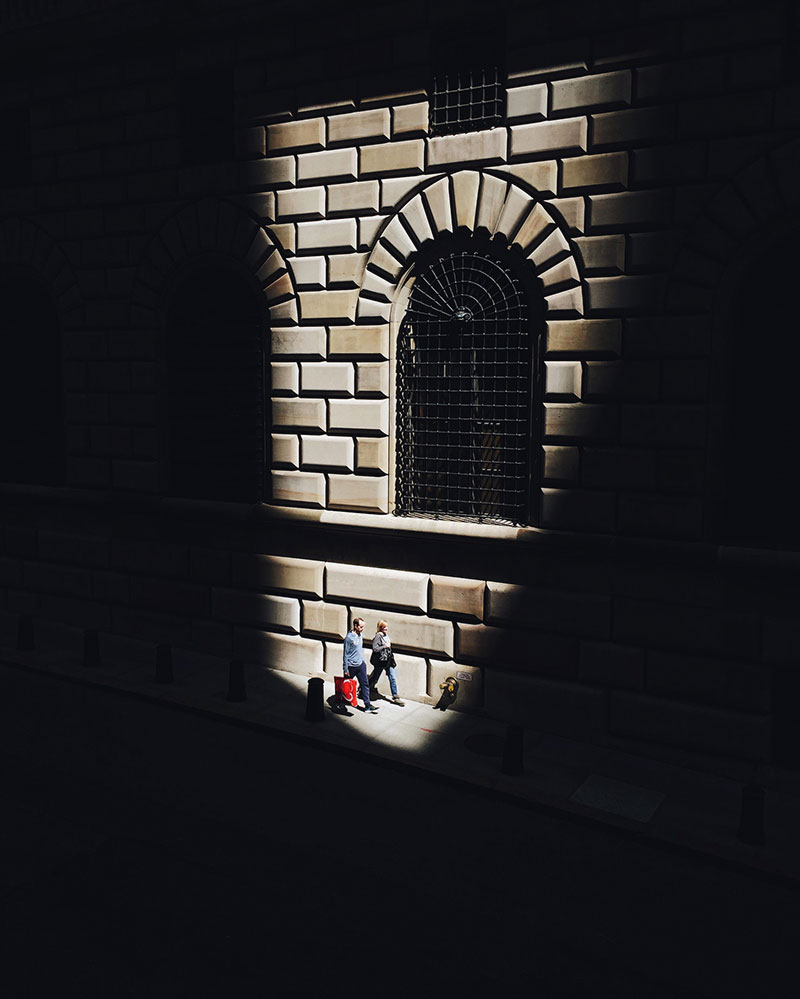
iPhone photography tip by @MONARIS_
A common theme among photographers is to avoid shooting around noon-day because of a term that most of you refer to as "harsh light". It is actually my favorite time of day to shoot in.
Harsh light creates a beautiful contrast, mystery, and adds a dramatic element to the photograph. By manually under-exposing the image, all of the medium and dark toned background elements simply reduced to a rich, pure black.
Photo editor tools > Filterstorm is one of my favorite post-processing apps when I want to play around with the light and shadows in a photograph. I normally use it for adjusting contrast in selected areas. Also, vscocam is great for adjusting color and adding different types of tones to the photographs.
10. IT'S ALL ABOUT THE LIGHT...
iPhone photography tip by @LIGHTPOEM
Natural light is the most important and powerful tool. Use natural light as much as you can and never use the flash on your phone. It makes awful highlights and terrible shadows.
The better your object is lit, the clearer and crisper the image will be. By using natural light you can add power or drama to your images. Use gloomy weather to create a moody depth in your picture.
One of my passions is food photography. Food just looks more appealing in natural light. You don't need a lot of expensive equipment to lite food well. A simple window is all you need to create beautifully diffused light.
But the most effective way to improve your photography skills is practice, practice, practice. Photograph as much as you can in as many different light situations as possible.

11. USE NATURAL LIGHT
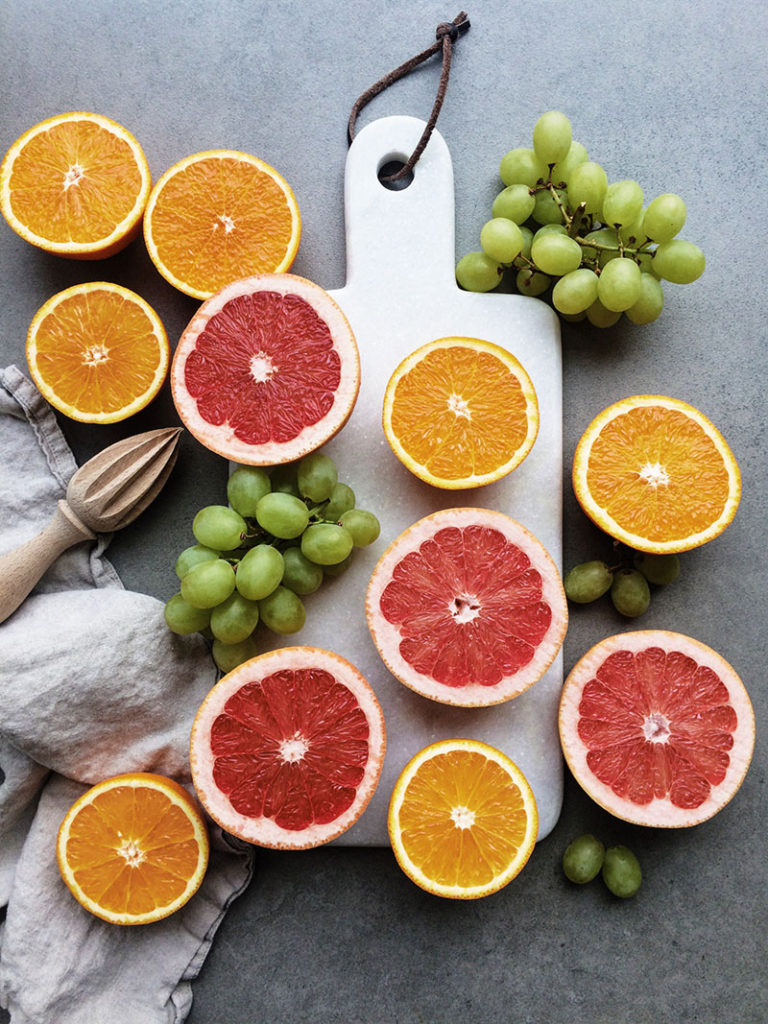
iPhone photography tip by @ANDDICTED
When it comes to shooting with an iPhone, or any other smartphone, you always need to take photos in good natural light to get the best results. For food pictures, for example, it's always ideal to find a table near a window and without any overhead lighting.
Photo editor tools > Just adjust brightness, contrast and saturation in apps like VSCO or Snapseed. In Snapseed, you can selective adjust the food and bump up the contrast to make it pop.

12. USE THE GOLDEN HOURS
iPhone photography tip by @LOUISELJ
As a Scandinavian used to darker periods, I promise you that a great photo is all about good light!
My favorite time a day to shoot is mornings, I love the time before sunset which gives a soft, cooler look.
There's details to a photo when you shoot in softer light, and as we're all pretty much using our iPhones when capturing moments; tap the screen on different spots before snapping. A little sun icon will appear which will let you adjust the exposure by sliding it up and down. If you need some help establishing the when the Golden hour is, the Inkifi team have created this cool calculator.
13. LIGHT MAKES THINGS THAT MORE BEAUTIFUL
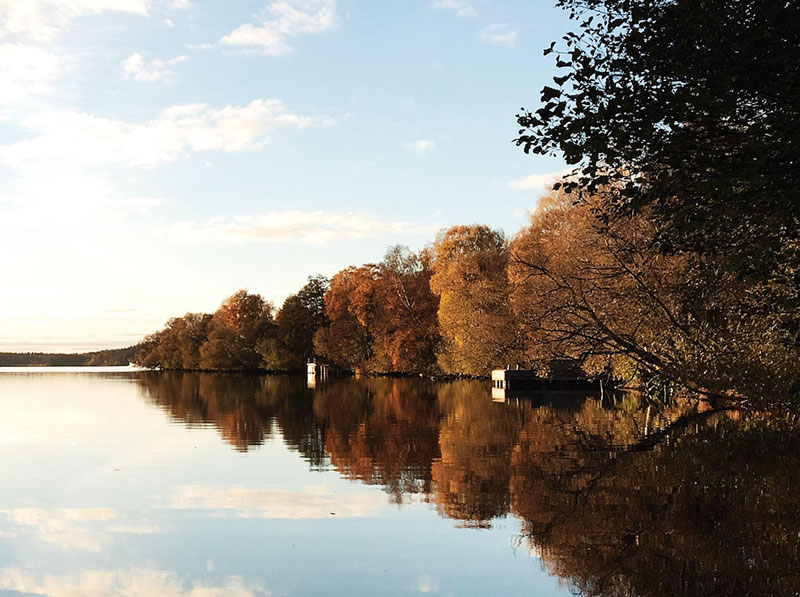
iPhone photography tip by @LAVINIA_CERNAU
Always be on the lookout for the way light falls on your subject and try to capture the true essence of it. I always go for natural light and that comes as an instinct, I found. Listen to what speaks to your heart and translate it in your photograph. It will speak to others for sure.
Photo editor tools > I used Snapseed as I always do and a touch of a Vsco filter - a touch because natural light did most of the job, I only enhanced and softened the tones here.

iPhone Photography Tips on Processing
14. ALWAYS SAVE THE IMAGE THAT YOU EDIT IN THE HIGHEST RESOLUTION POSSIBLE
iPhone photography tip by @FRIDAOATHGROVE
Always save the image that you edit in the highest resolution possible, you never know which one you'd like to send to Inkifi for example to get printed for your wall or as a photo gift. There's nothing better then holding your own pictures in your hand or give away them as a gift. That's how I love to share my memories to friends and family.
Photo editor tools > I still love to use the app VSCO for editing my picture. They are constantly working to improve their service so you get the best possible resolution and quality on your final pictures. The only tricky thing is that you have to choose among so many great filters. When you save the picture after editing in VSCO it's asking you which size you want to save it in and I always choose the alternative "Actual size".
15. SOME PICTURES ARE JUST NOT MADE TO BE SQUARES
iPhone photography tip by @FRIDAOATHGROVE
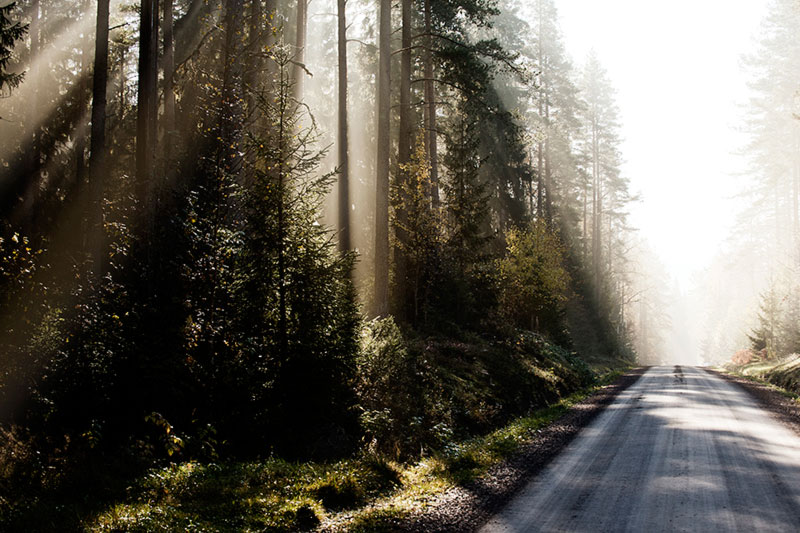
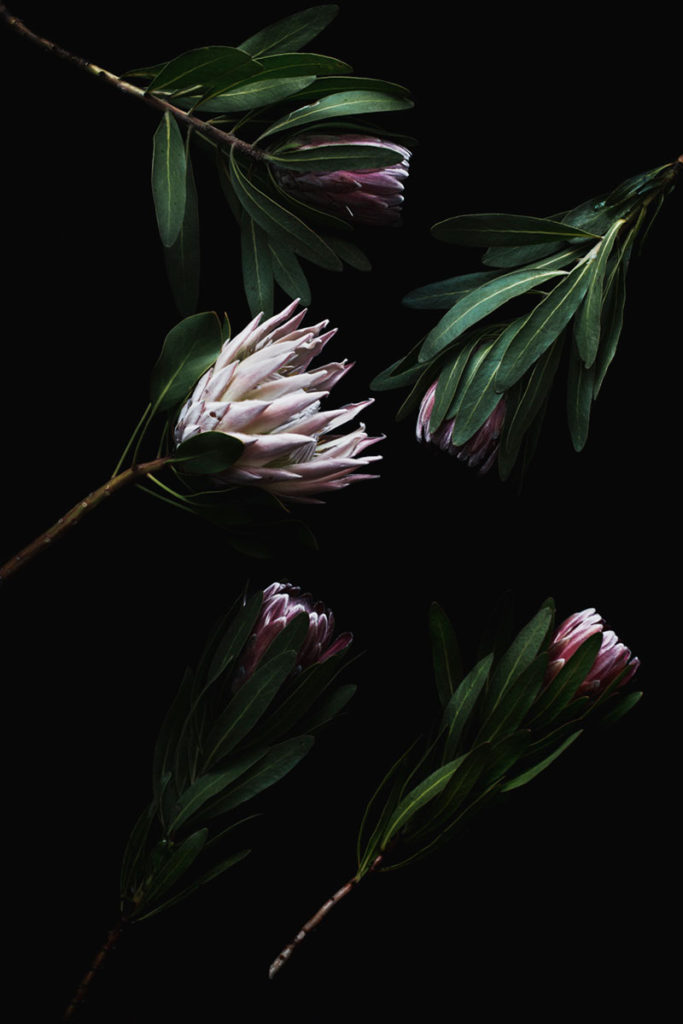
Therefore I like to mix my gallery with some landscape images and some portrait images. I think it can look good with the white space in between the pictures when you overlook the grid. It makes the pictures pop out a little more. But I think that you shouldn't think too much about the trends, get inspired by them and then do it your way.
Photo editor tools > There are of course many apps for making frames around the pictures, but I like to keep it simple and I think that Instasize or Byecrop is a good option for that. Instasize also have some really nice filters. I always use Instasize or Byecrop after editing the picture in VSCO. Then I'm sure that I don't get any color tone in the white frame.
16. USE SNAPSEED FOR EDITING
iPhone photography tip by @MARCOSTORIES
It's really important to choose your light before you take a shot with your camera but sometimes the elements make getting the right light difficult. You can use the App Snapseed to retouch and easily improve your photos.
Step 1 - Choose the 'Selective' Tool.
Step 2 - Click on the '+' and start to add selective adjustments in different areas of the photo to illuminate them. You should increase the contrast and saturation to create a sense of depth in the photo.

Before

After
Your iPhone Photography Questions Answered
How to Turn the Grid on, on an iPhone Camera
To turn on the grid on your iPhone's camera:
1. Open the Settings app.
2. Scroll down and tap Photos & Camera.
3. Scroll down and toggle the Grid switch to On (green).
How to Make a Landscape Photo Portrait on an iPhone
To rotate an image on iPhone, open iPhone Photos APP and find the image you want to rotate.
1. Tap the Edit button in the upper right corner of the screen.
2. Tap the Rotate button (it looks like a two-headed arrow) in the bottom toolbar.
3. Tap Rotate Left or Rotate Right to rotate the
How to Take a Black and White Photo on an iPhone
To take a black and white photo on iPhone and open the camera app.
1. Click the arrow top center
2. Scroll to the right and tap the three circles in the lower right corner of the screen to access the filters menu.
3. Slide until you find the Black & White filter, then tap it to apply.
How to Put a Timer on an iPhone Camera
To put a timer on your iPhone's camera:
1. Open the camera app
3. Scroll to the right and tap the timer icon
3. Scroll to the right and tap the timer icon
4. Select a 3 second or 10 second timer
5. Tap 'timer off' when you're finished
How to Focus Pictures on iPhone
To focus a picture on your iPhone, open the Camera app and select the Photo mode
1. Tap the screen to focus on your subject.
3. The camera will keep the focus locked even if you move or shake the phone.
Remember to have fun when taking photos using your iPhone
So there you have it, 16 tips for taking great photos with your iPhone. Whether you're just starting out or you're looking to improve your skills, these tips will help you take better pictures with your phone camera. We hope you found this article helpful and that you'll put some of these techniques into practice the next time you go out shooting!
For more photography tips, read about:
