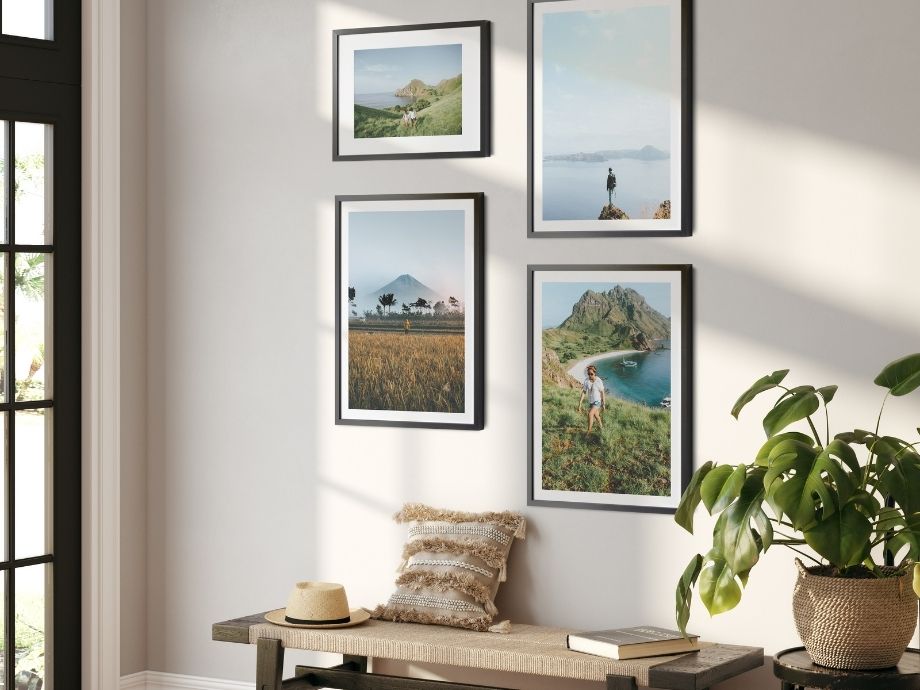
A photo gallery wall composes of many different photos all placed together on the same wall. They are the best way for you to display a series of memories and moments all grouped together, while still adding to your interior design at the same time. They’re less clustered and clumped together than photo collages, making them far more stylish. It will feel like part of your home has been transformed into a lovely art gallery, only with your family or hand-selected art as the main subjects.
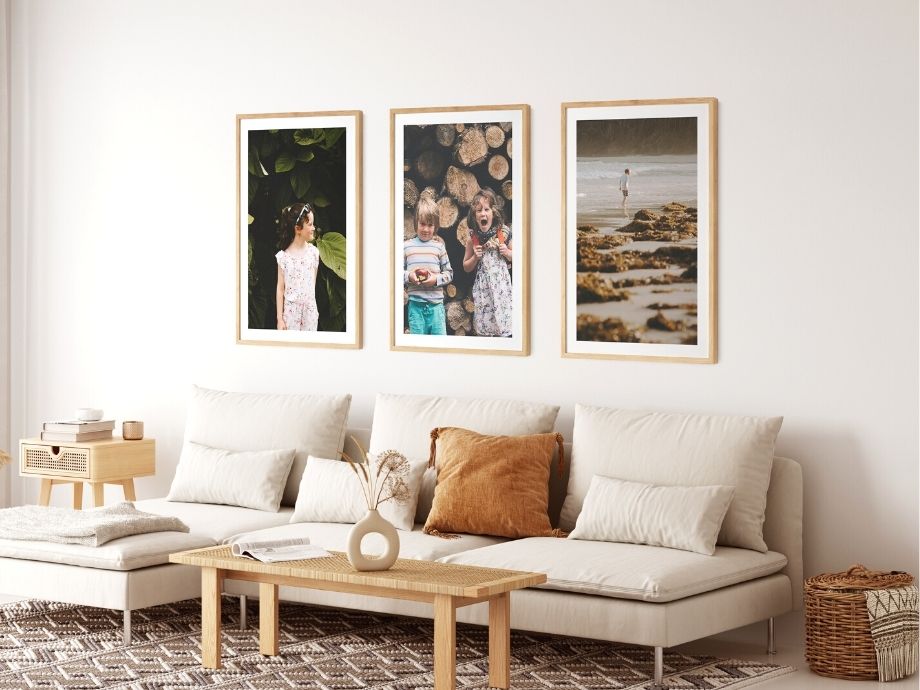
With that in mind, how do you create a perfect photo gallery wall at home? We’ve got a few simple steps you can follow to do just that:
Step 1: Choose your theme
How is your photo gallery wall going to look? Do you want it to be very modern and contemporary, or are you opting for more of an art deco look? This is very important as it determines the style of the frames and the colours you choose later down the line.
For example, if the theme is minimalism, you will want very plain frames and not too many of them on the wall. If you want to go over the top and really make your wall stand out, you might have numerous frames of all shapes and sizes that draw your eyes to the photo gallery wall.
Similarly, consider the theme from the actual photo standpoint. Are you developing a wall with family photos to convey memories? Is it a wall of your favourite art pieces? Think about what will go in the photo frames and it will help you with the next step.
Step 2: Find your photos
Once you’ve landed on the theme, you have to find the photos that will form your gallery wall. If you want actual photos of your family, you need to have a look through all your collections to pick the ones that suit the wall.
What’s more, if you do want the family photo gallery wall, you might need to have some special photos taken to fit the frames. Each frame should have one, maybe two photos in it - you don’t want it to contain a collage. So, you have to ensure that your photos either remain high-quality when blown up, or you get ones specifically taken for the gallery wall.
Those of you that don’t want this to be a family photo wall will need to go and collect the pieces that make up your gallery. These could be your favourite art pieces, pieces you’ve drawn yourself or maybe even movie posters. The choice is yours, just decide how many photos you need and pick them out.
Step 3: Choose your frames
Next, you need to get your hands on some frames for your photo gallery wall. Now, you have two options to choose from:
- Individually select the frames yourself
- Purchase a pre-made photo gallery wall
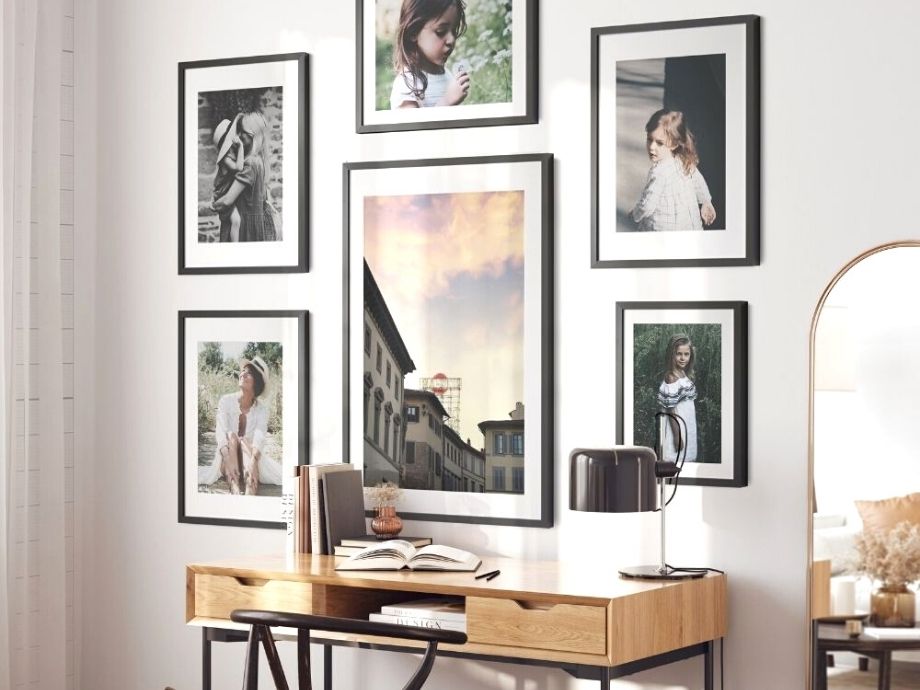
At Inkifi, we have created a photo gallery wall product that is perfect for your home. It consists of five different frames of various sizes, and you can choose the frame design yourself. The benefit is that you get all the frames together in one order and they are designed to fit together well and be placed in alignments that make your wall look perfect. The frames are also made to fit almost any wall and interior style, so you really don’t have to do a lot of work at all!
What’s more, we can actually take more of the stress out of the process for you. Instead of waiting for your frames to be delivered and putting the photos in yourself, you can upload the images during your order. This lets you see what they’ll look like before you buy them, and you can keep customising the order until you’re happy. When you’re satisfied, you simply place your order and your photo gallery wall gets delivered straight to your door. Now, all you have to do is hang the frames up!
Step 4: Hang your frames
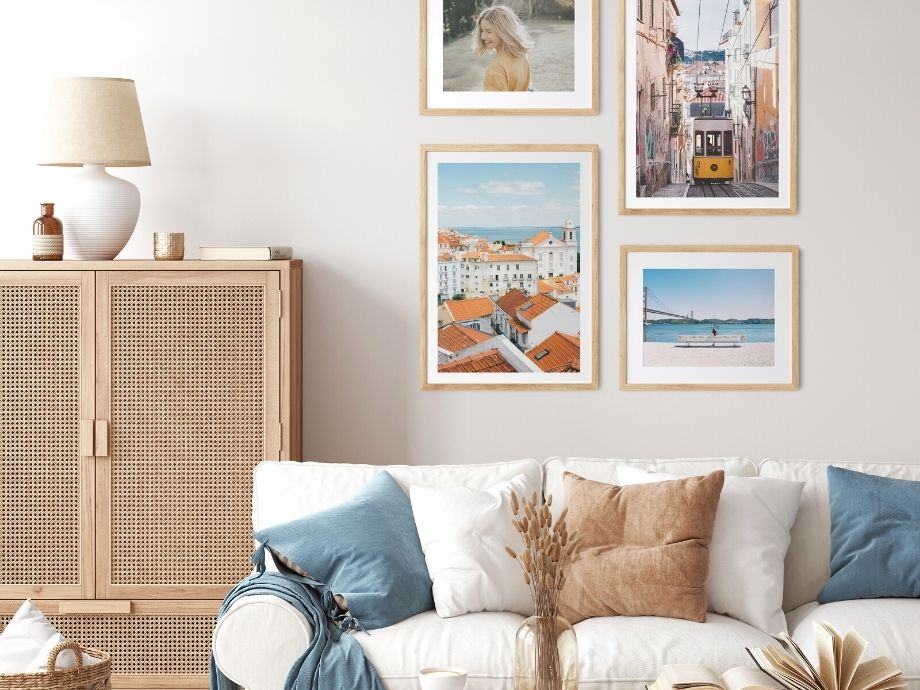
Okay, this isn’t the final step, but it’s the final step revolving around your photos! Hang your frames on your wall in the theme that you decided on at the beginning. Make sure you align each frame so they’re not off-centre, but don’t worry about them all being in line with one another. It all depends on the style you’re going for - if you do want it to look professional and neat, then yes, you should line them up. But, it’s all down to personal preference!
Step 5: Add some extra aesthetic touches (Optional)
Here’s an optional fifth step for you: add a few extra things to the wall area to enhance the appeal of your photo gallery wall. This could be a nice piece of furniture below the photos to make the whole thing look more neat and professional. It could be some floor ornaments, lamps, plants - anything that you think will add to your gallery wall.
Of course, this depends on where you have placed your photo gallery, and how much space you have in your home. If you’re put it on the wall going up the side of your stairs, you’re unlikely to find any extra features you can add. That’s why this step is purely optional, but it can bring out the beauty in your photos if you’re able to do it.
Just like that, you’ve managed to put together a beautiful photo gallery wall at home. All of your photos are clear and pristine, and they’re wonderfully placed together in awesome frames. This is such a brilliant addition to your interiors as it works as a wall decoration that brings out other elements in the room. If you’re looking to improve your interior design in a cost-effective way, while also displaying some lovely photos or art, this is definitely something you should try.
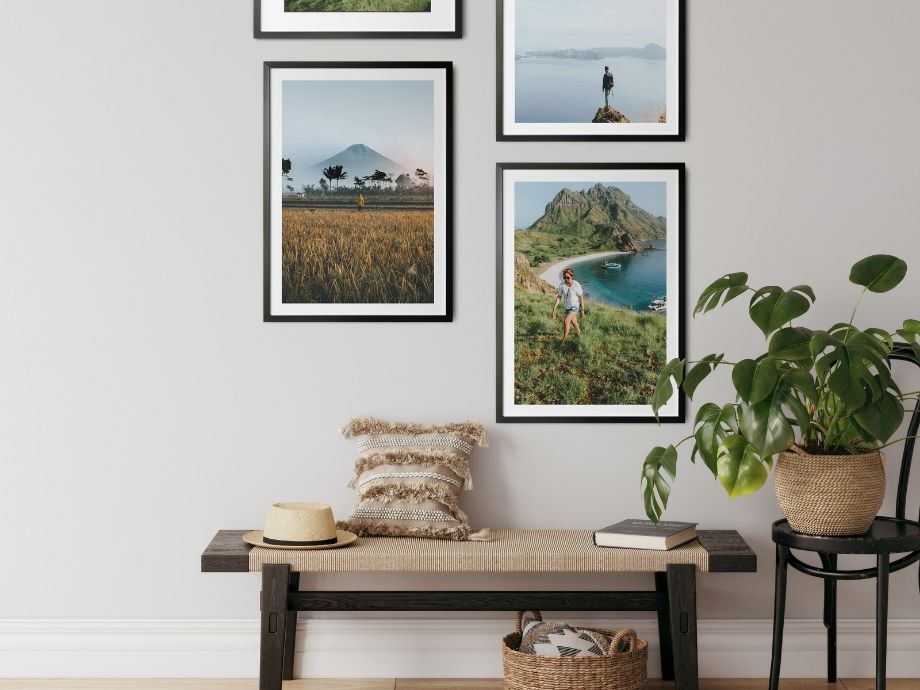
Ready to easily create your own Photo Gallery Wall? Right this way
