HOW TO MAKE A KID’S ART PHOTO BOOK: STEP BY STEP
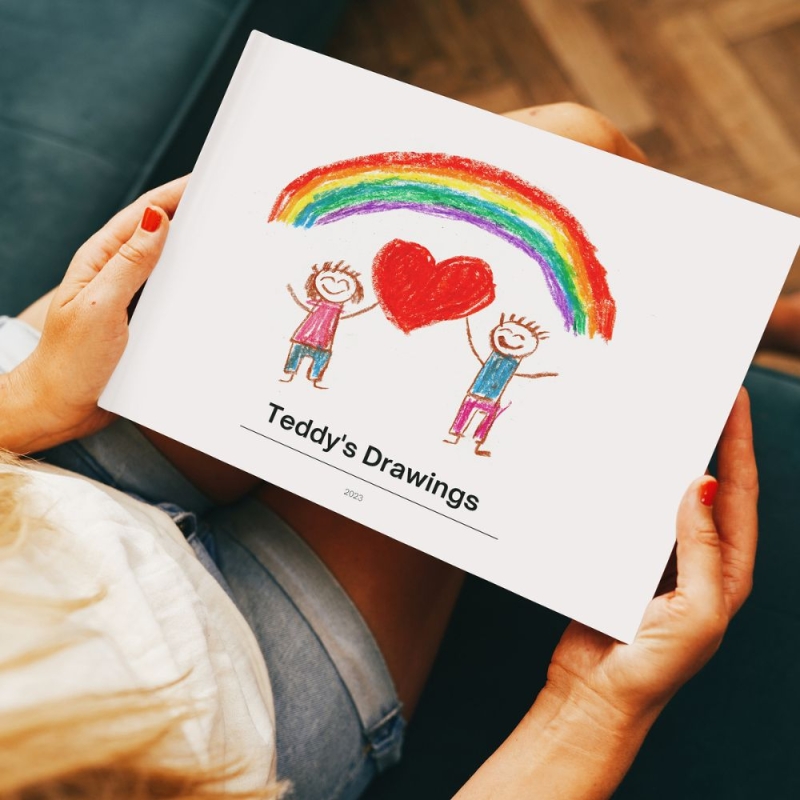
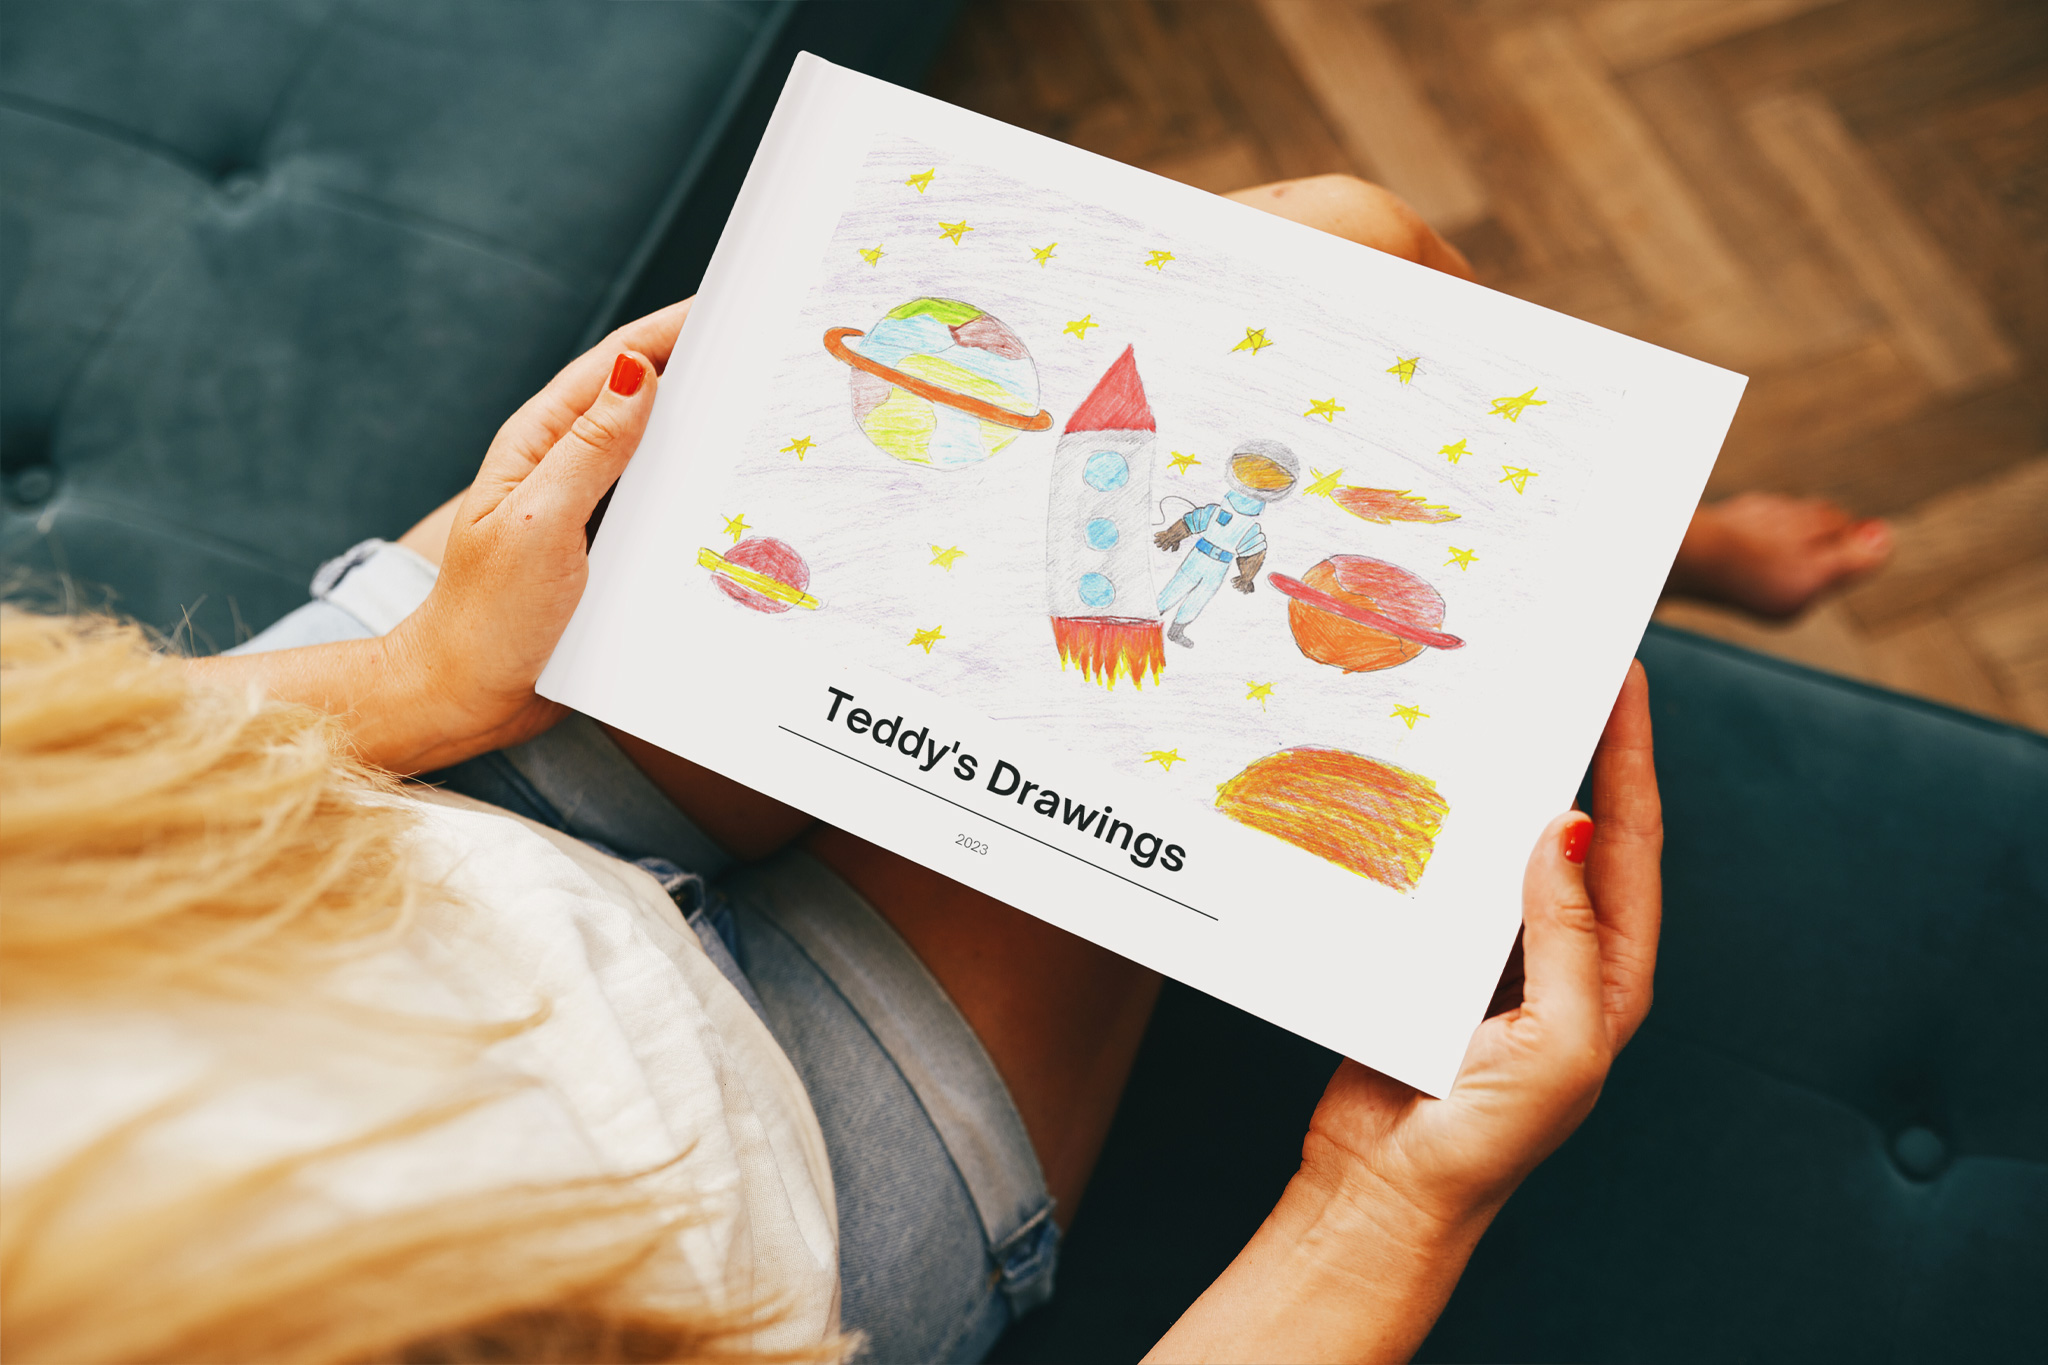
It’s really easy to make a book of your child’s artwork. Just follow these simple steps:
Step 1: Select Your Favourite Pictures
If you already have a pile of your child’s artwork at home, go through it and pick out your favourites.
Step 2: Take Photos
Use your smartphone (or any camera you have) to take photographs of your child’s artwork.
Step 4: Upload Your Child’s Artwork
Click the 'Customise' and then Upload Photos button. Then select the photographs of your child’s artwork that you want to add. For a super speedy upload, collect photos of your child’s artwork into a designated folder on your device. That way, it’s quick and easy to find the pics you want to include.
Step 5: Customise The Design
Every Inkifi photo book starts out with a minimal, contemporary design. If you want to keep things classic and simple, skip straight ahead to the next step.
But if you’d like to customise your kid’s art photo book, there are plenty of ways to do so. You can play around with the layout, rearranging your child’s artwork to show it off in its best light. You can also add backgrounds, borders and illustrations to make your kid’s art book completely unique.
Step 6: Add A Title And Captions
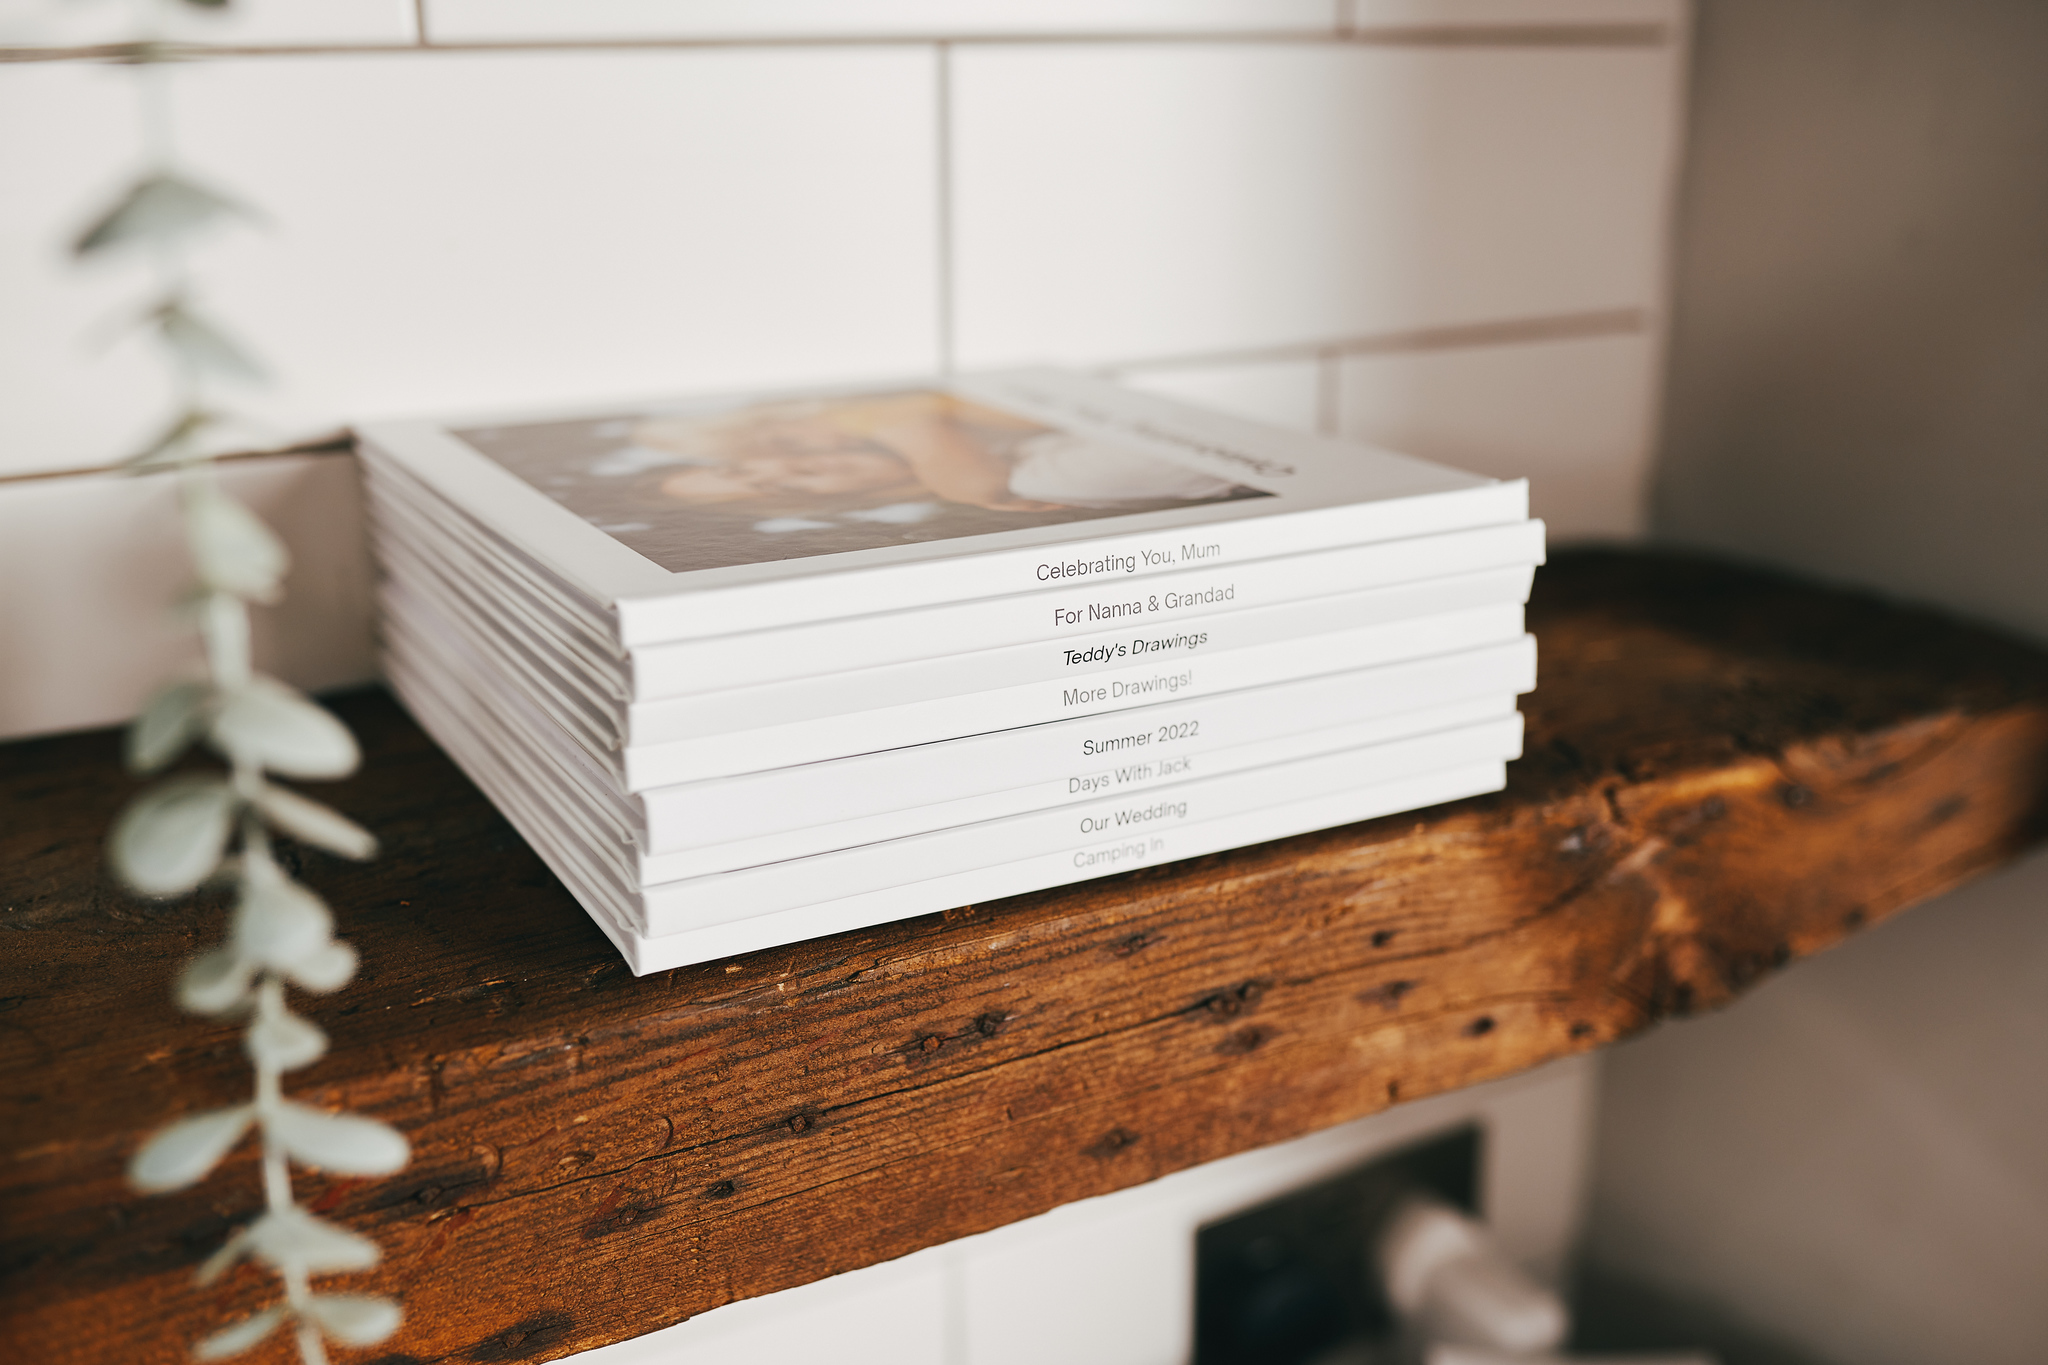
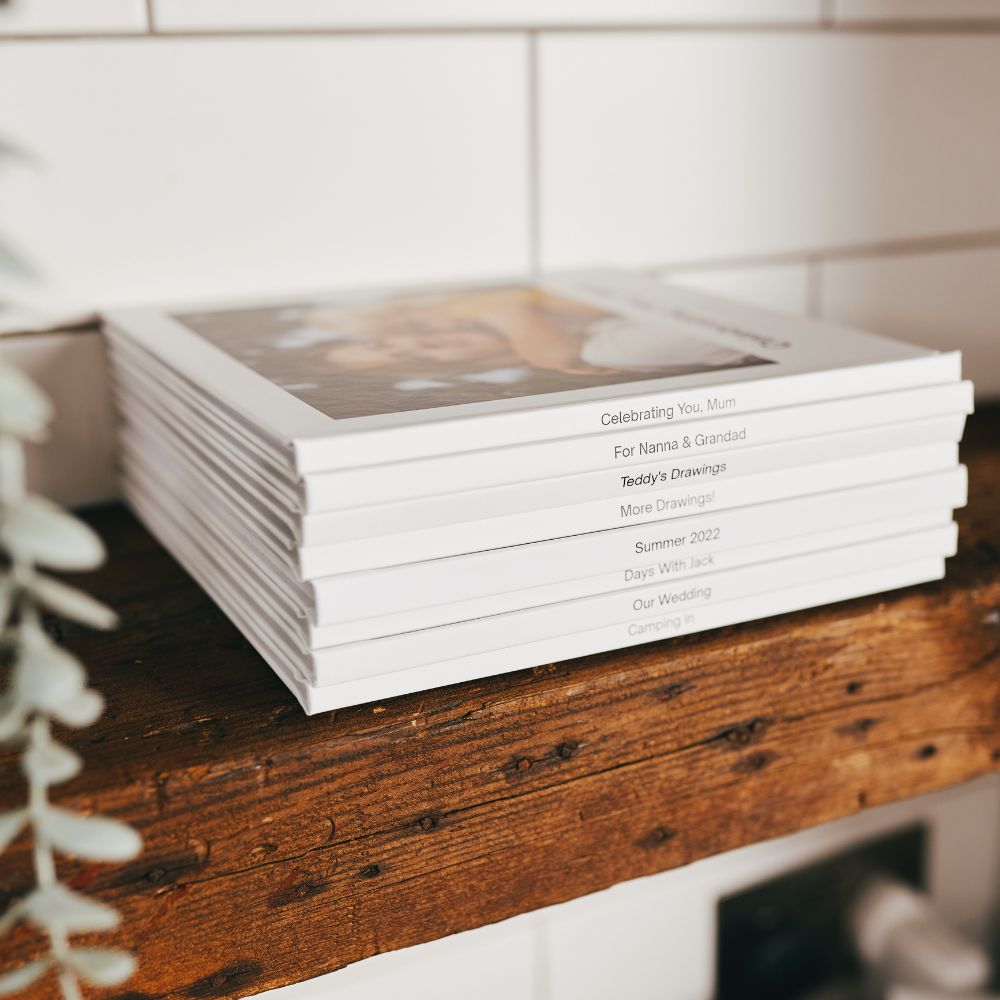
Happy with your child’s art book design? Then it’s time to add some text. You can put a title on the front and spine of your kid’s art photo book. You can also add captions to the pages, labelling your child’s artwork – and perhaps reminding your future self that that purple squiggle is supposed to represent the family dog.
Step 7: Print
Now all you have to do is checkout. And we’ll do the rest. Soon you’ll have a special kid’s art book to share with your little one and the rest of the family.
Some of your child’s art deserves extra special treatment. If you love the idea of seeing one of their drawings or paintings up on the wall every day of the year, then take a look at our framed photo prints
.


