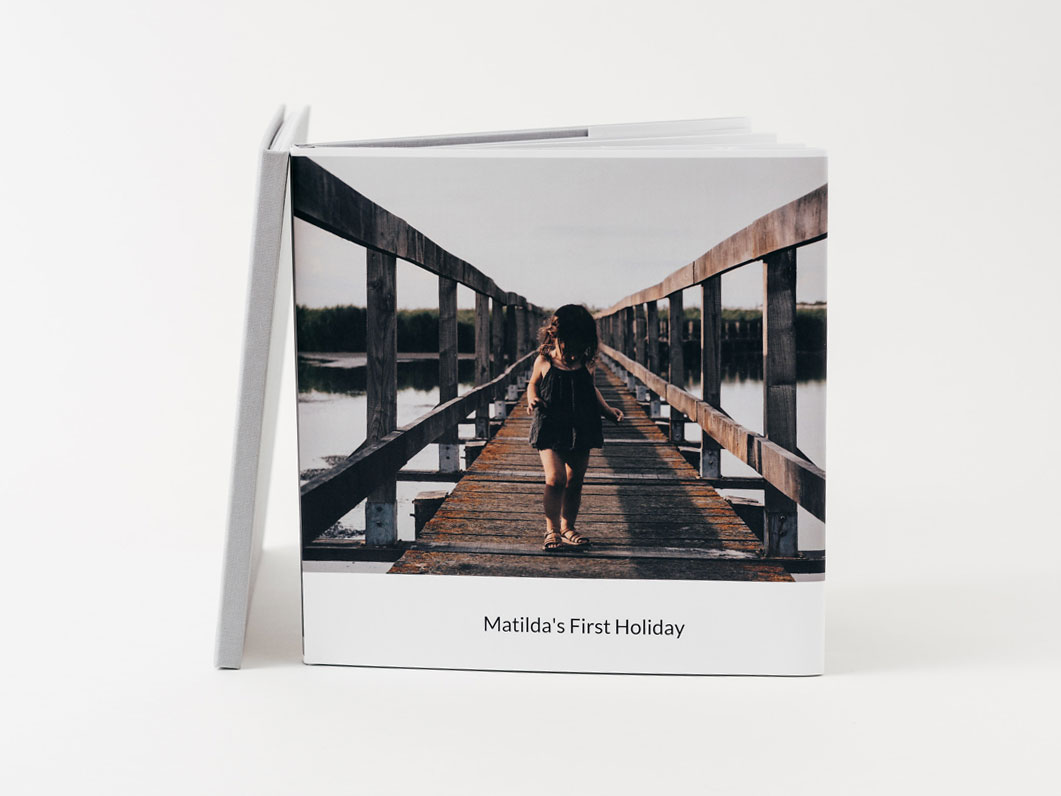
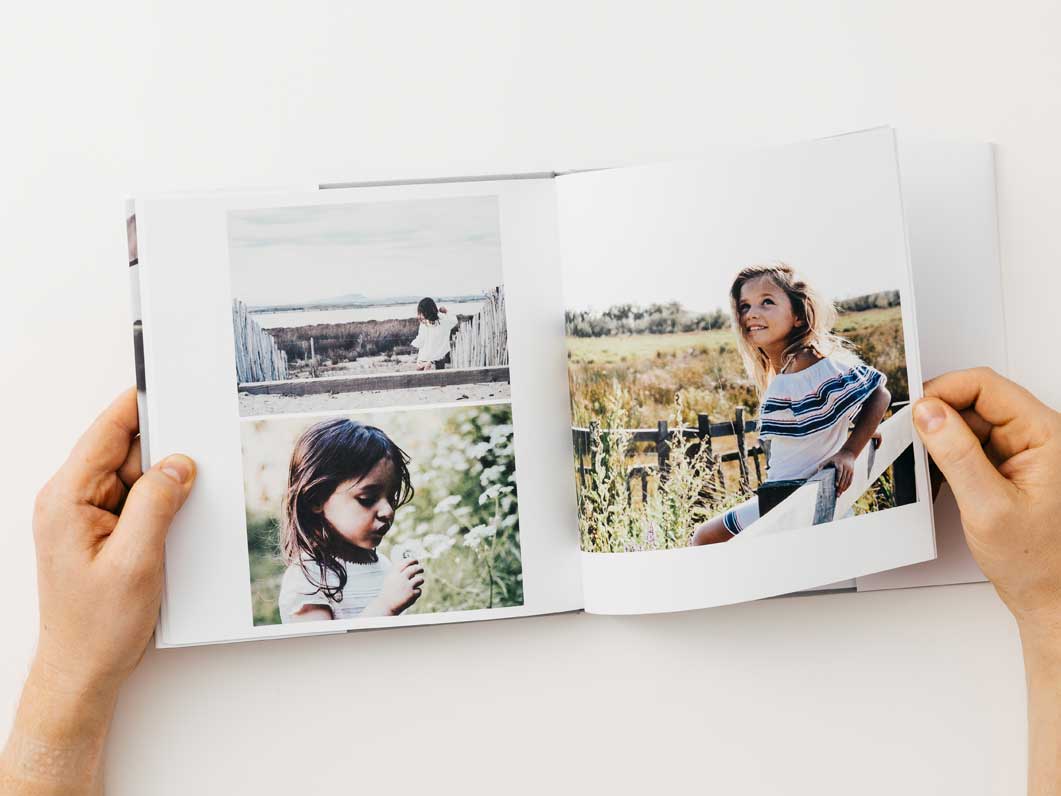
Scrolling back through photos on your phone makes for a wonderful trip down memory lane. But nothing beats the tactile beauty of a personalised photo book. It’s a keepsake you can treasure forever.
Wondering how to get started? We’ve designed a fair few photo books in our time. So now we’re here to share our top tips on how to create a photo book, helping you to tell your story, your way.
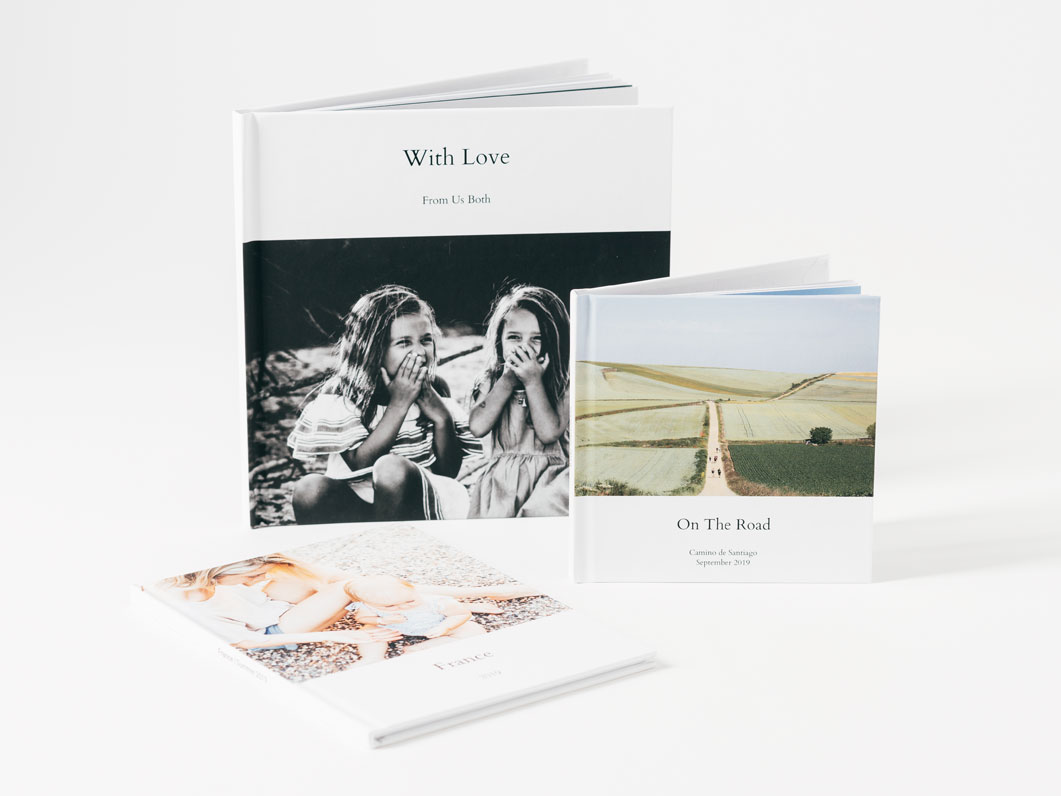
Tip 1 - PICK A TOPIC
This could be anything from a weekend away to a milestone life event, let your creativity run wild!
Tip 2 - CURATE YOUR IMAGES
A photo book is all about – you guessed it – the photos. So before you even start uploading them, they need to be looking their best.
That means being critical. Only your most evocative and/or technically impressive images should make the cut.
And, if you have the time and the knowhow, editing your images will make for a more cohesive finished product. Crop, enhance, brighten and play around with contrast to get your photos looking just how you want them.

Tip 3 - CHOOSE YOUR BOOK TYPE
What kind of photo book do you want to create? Here are a few of our favourites:
Lay Flat Photo Book - Our lay flat photo book is a hardcover book with super thick pages that promises to take pride of place on your coffee table. One for your most special of memories.
Soft Cover Photo Book - With up to 200 pages and more space for your photos than any of our other photo books, this one is the best option when you have an epic photography tale to tell.
Hard Cover Photo Book - The classic look and premium quality of our hard cover photo book promises to preserve your memories in vivid colour for years to come.
Instagram Photo Book - Connect directly to your Instagram account and create a photo book of your very best Insta squares.
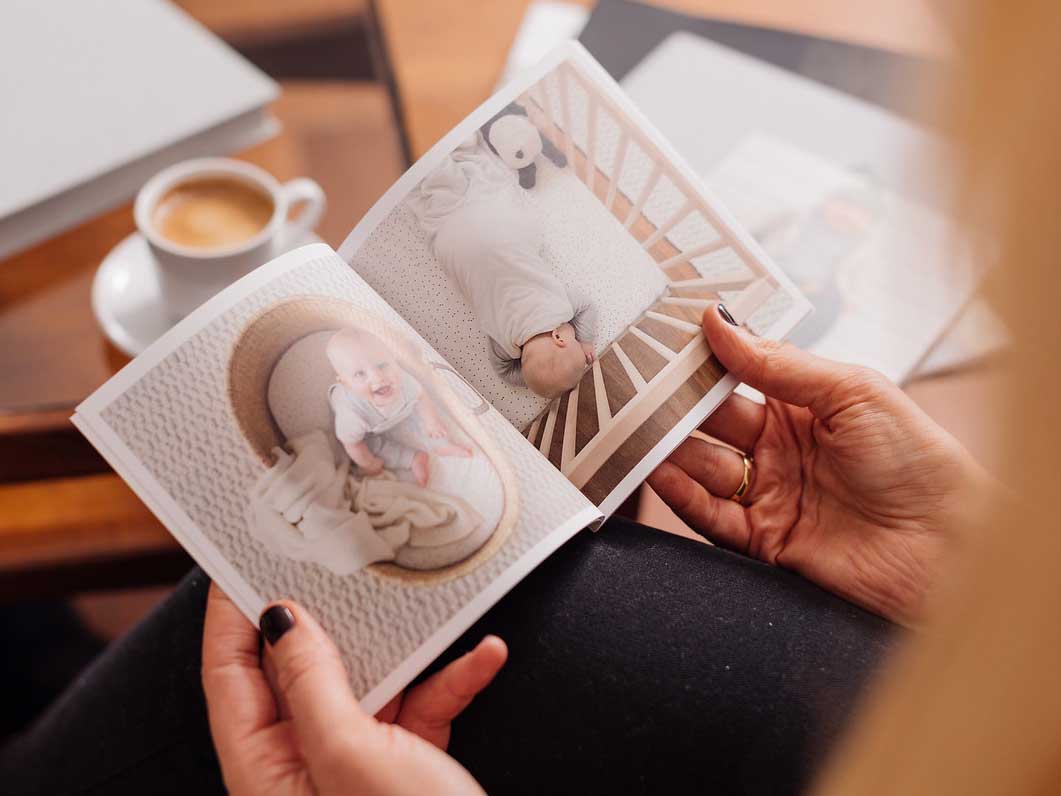
Tip 4 - TELL YOUR STORY, YOUR WAY
Next up, it’s time to put your photographs in order.
Arranging them chronologically might feel like the logical choice. If your photo book covers a whole year of family life, for instance, it’s tempting to put images in time order. You get to see the passing of the seasons and littler family members getting bigger…
But don’t be afraid to tell your story differently. It’s perfectly possible to create a photo book narrative based on aesthetics, particularly if you’re covering a short period of time like a holiday or a celebration.
Focus on which photos look good together, matching and contrasting colour schemes, textures, subjects and perspectives. This approach might just help you to create something really special.
Using our editor you can easily drag and drop to your heart’s content, finding an order that works for you and your photos.
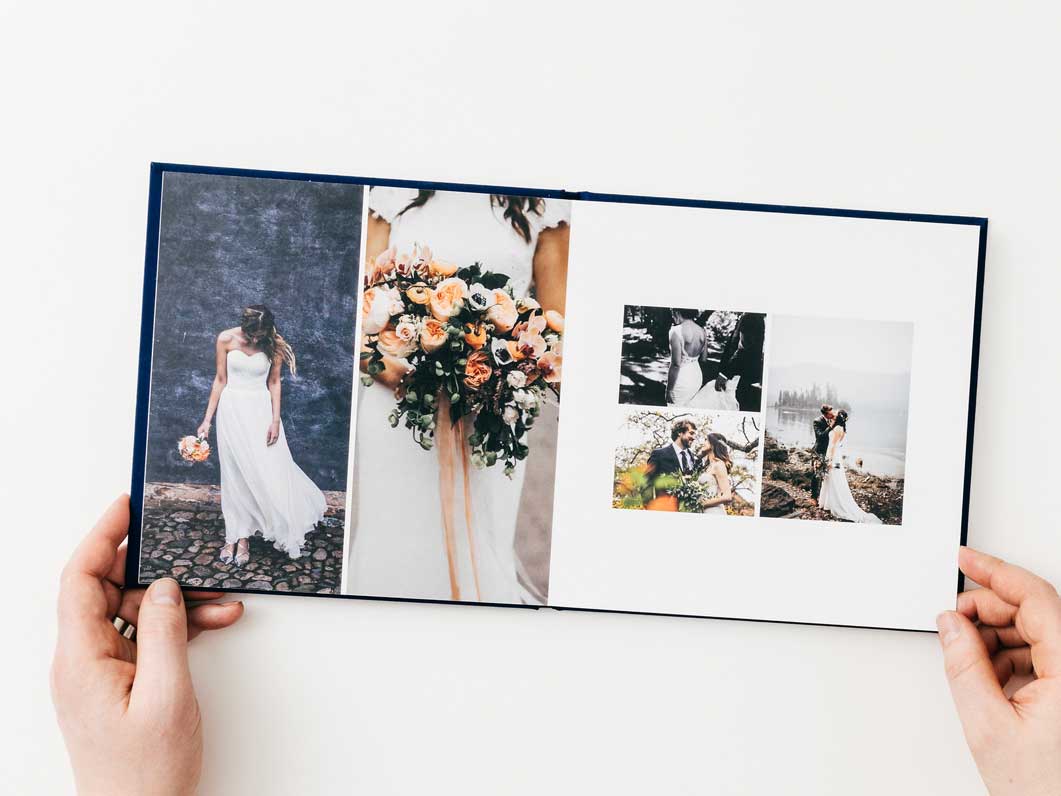
Tip 5 - KEEP THE LAYOUT SIMPLE
How to create a photo book layout? Simple layouts tend to have the most impact. Showcasing one image per page is the easiest way to ensure each and every image has space to shine.
However, when used sparingly, pages that feature more than one image add a ton of interest to your photo book.
Try putting a photo that gives a broad overview – like a landscape – on one page. Then add a collection of images that highlight beautiful little details on the next.
Any images you group together should have something in common. They might all feature the same colour tones. Or all work together to set a scene.
Whatever photo book layout you go with, follow every designer’s golden rule; leave enough white space. Without it your photo book will look cluttered and confused.
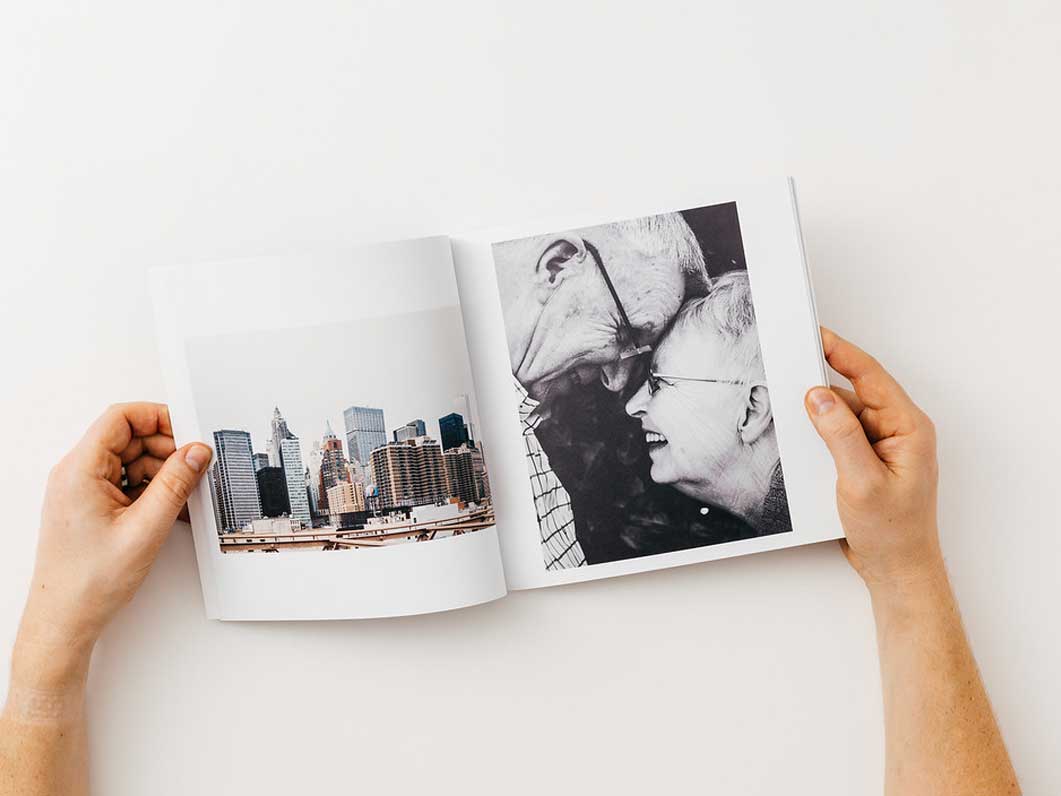
Tip 6 - USE TEXT SPARINGLY
Adding text to your photo book pages can evoke the story behind an image. Song lyrics, a restaurant name or an anecdote have the potential to bring back happy memories many years from now.
You could even leave large margins or blank pages in your photo book to add your own handwritten notes and memories once your book arrives in the post.
But we’d always recommend using text and written notes sparingly if you want your photo book to look clean and professional. Too much text can detract from your photos, which often already say so much.
Tip 7 - PERSONALISE YOUR TITLE
Every good book deserves a creative title. The best is simple but descriptive. Here are a few ideas to get you started:
| Travel | New Baby | Wedding |
|---|---|---|
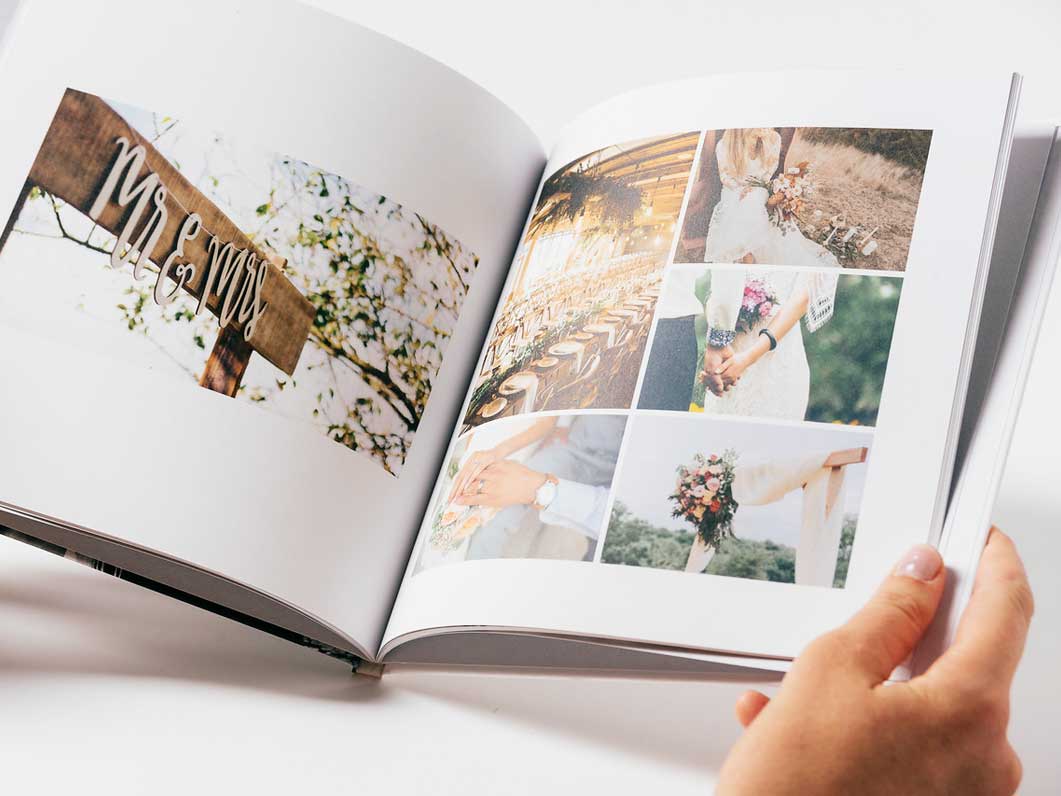
| A weekend in Rome | Baby’s first year | Mr & Mrs |
| The road less travelled | Est. 2020 | J & M |
| Five go glamping | Hello little one | The story of us |
| The perfect summer | And then there were 3 | Happily ever after |
Still struggling for title inspiration? Revisit a few of your favourite Instagram hashtags. They can provide a creative and concise way to say exactly what you want to say.
And if your photo book is to be the first of many, you could simply name it after the year in which the photos were taken. That way photo books can sit chronologically on your bookshelf and you can step back in time whenever the urge takes you.
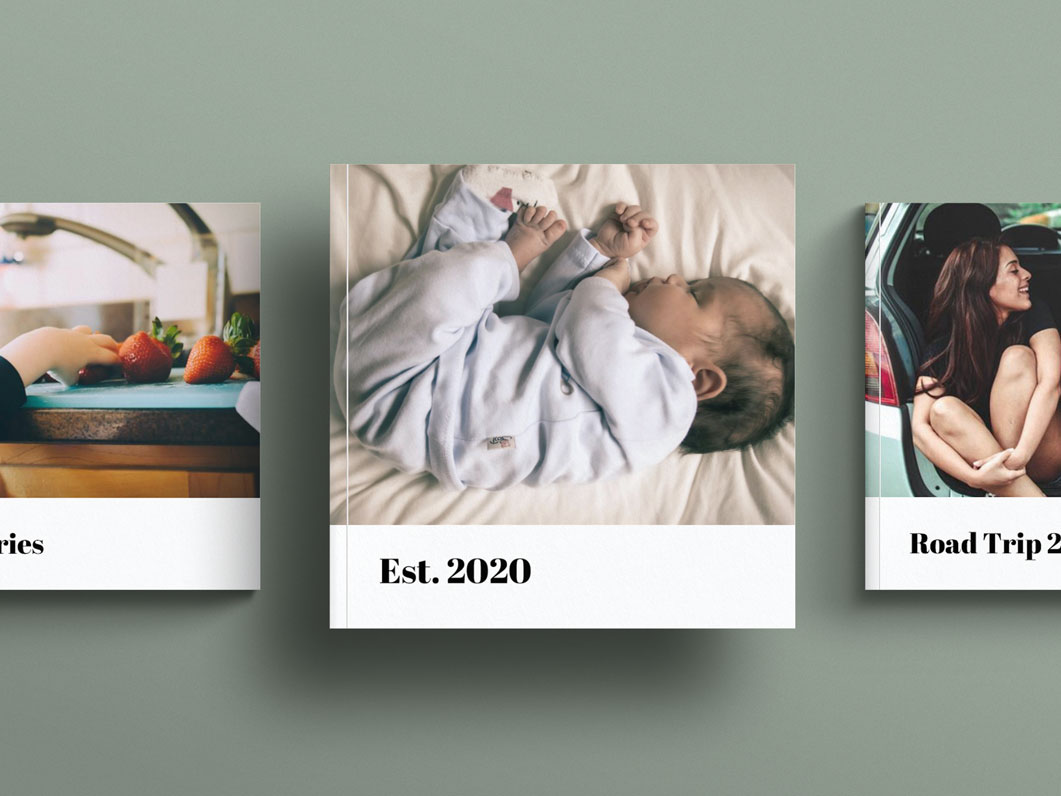
Tip 8 - PICK THE PERFECT FRONT COVER
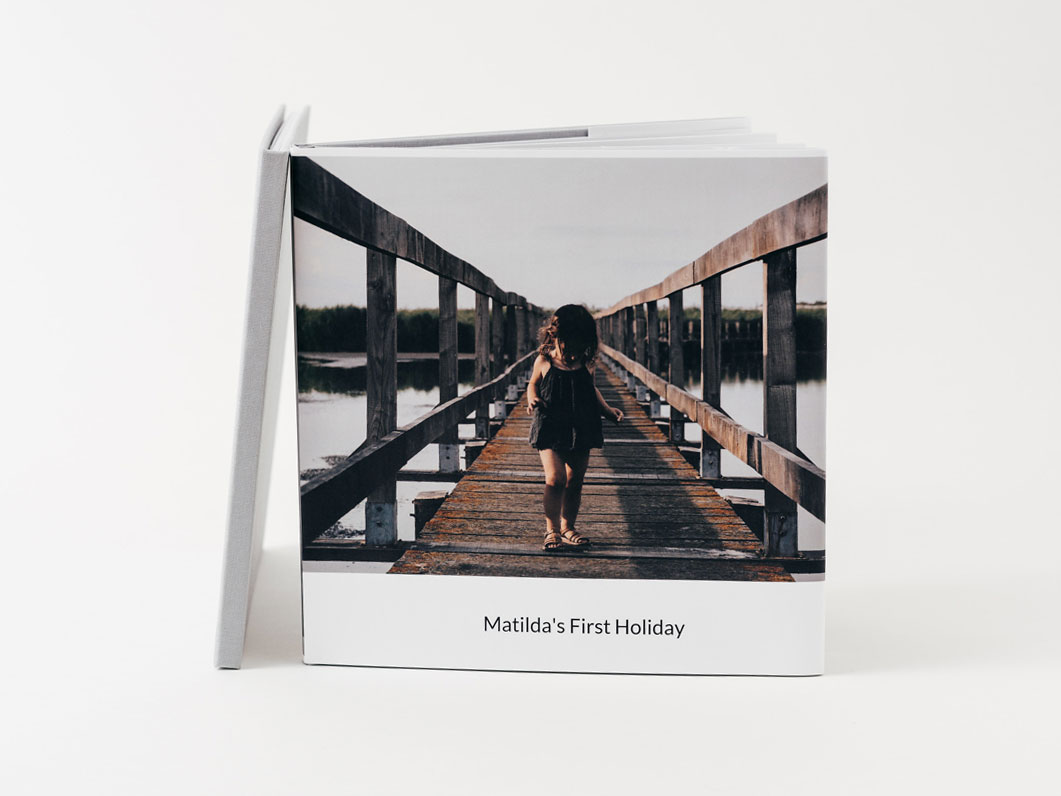
Your photo book cover image should give an intriguing overview of what lies within.
If you want to place the book title over the top of your image, create a photo book cover with enough empty space – an area within the image that doesn’t feature people or objects.
And always pick a beautiful image that conveys a strong emotion. Happiness. Freedom. Adventure. Love. A personalised photo book tells your story and its cover should provide a first, exciting glimpse of what is to come.
We hope these tips have given you some inspiration on how to create a photo book of your very own. With our amazing, easy-to-use templates you can spend as little or as much time on your photo book as you like, with beautiful results guaranteed.
Ready to create something beautiful? create your own photo book today.
