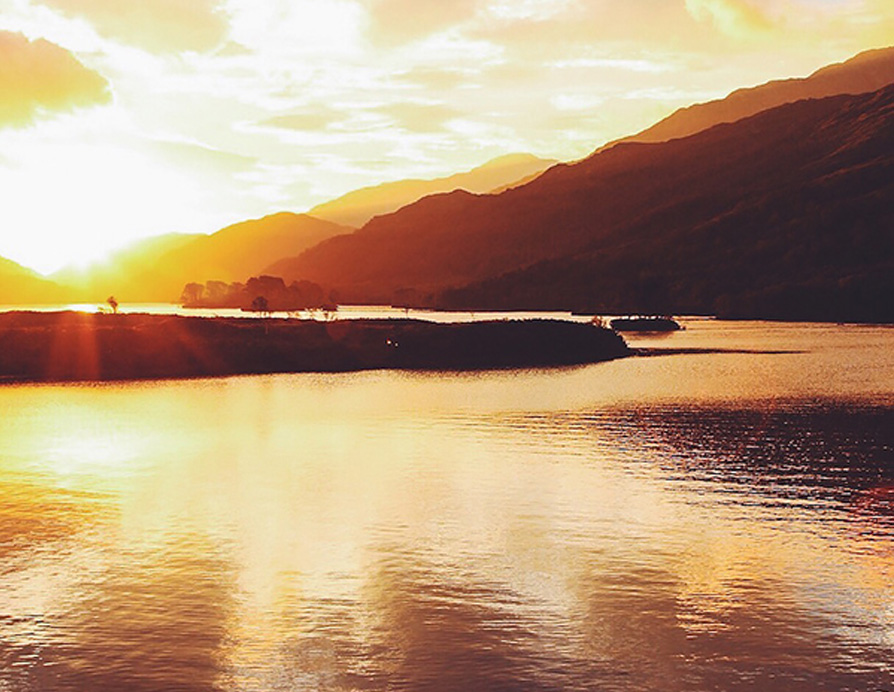
Artist - Lily Husbands
Instagram - @lillylalaloulou
Looking to post your DSLR images on Instagram? Professional photographer, Lilly, has created a detailed guide on how to do just that. Read more below.
I shoot almost all of the photos I post on Instagram with my Canon 6D or Fujifilm x100T. Most often I like to take my time editing using Lightroom on my computer, but when I'm out on an adventure and want to post on the go, I use a few different methods to make sure my iPhone edited photos are as stellar as they can be.
Depending on what DSLR you're using, first you'll need to import your images onto your phone. The Canon 6D is great for this, as its built-in wifi generator allows you to move images directly from your camera to your phone using Canon's "Camera Connect" app. Otherwise, I recommend using Dropbox or iCloud to transfer your images onto your phone.
Once you have the images on your smartphone, I recommend using the following techniques to edit your images for Instagram.
If you already own Adobe's Lightroom 5, then a fantastic way of editing on your phone is to use Lightroom Mobile. Once you've added the shots from your camera roll to Lightroom Mobile, you can select an image and start editing. I generally start by playing with the "Color" options in the "preset" menu. My favourite presets in LM are Punch 1 &2. They tend to bring out the saturation and tweak the exposure to draw out the drama in the image.
I then go into the ‘Adjust’ menu and make any necessary changes, balancing out the highlights and shadows, the blacks and whites.
After I'm satisfied that the image is how I want it in terms of exposure and saturation, I usually increase the contrast to between +5 and +10 (you can also use the "Dehaze" tool to decrease unwanted atmosphere in an image). Then, I go to the shutter icon to the far left of the menu bar and select "Tone Curve". I then increase the darks and shadows up to +30. This results in a nice faded tone that balances out the higher contrast and gives images a dreamy feel that I really like.
If I think the image calls for it, I sometimes like to add a little bit of vignetting, by returning to the far left icon and selecting "Vignetting", adjusting the amount from -25 up to -50. Then export the image into your photo library by selecting the export icon in the upper right hand corner, then "Share" and "Save Image".
2. If you don't have Adobe Lightroom, another great and more affordable way of editing DSLR images on your phone is by using the Snapseed app. Snapseed offers tools and filters that give you a lot of control over editing your image (including "healing" and selective area adjustments). Import your image into the app and select "Tune Image" from the menu (accessed via the round pencil icon at the lower right of the screen).
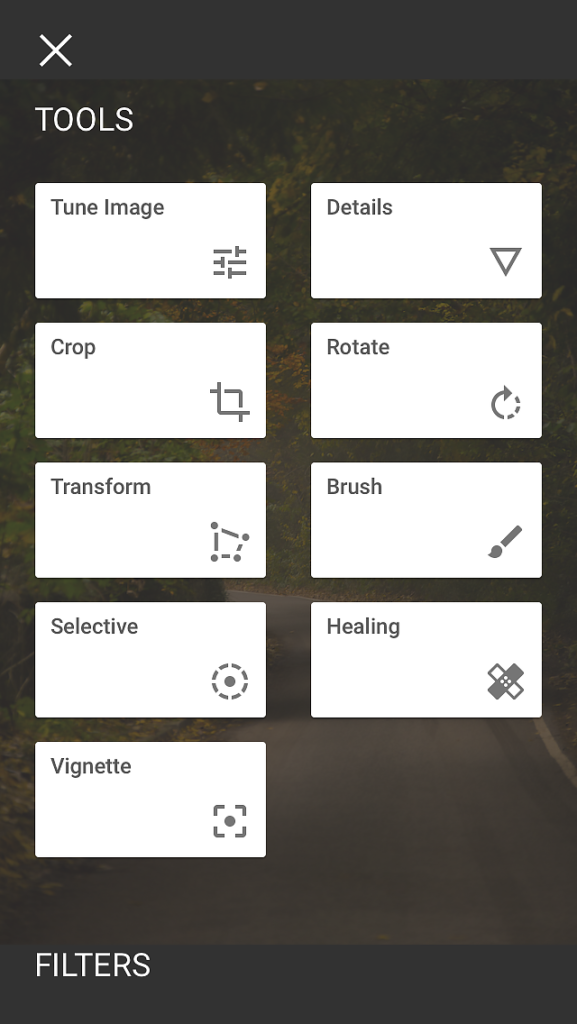
Once in the "Tune Image" tool, swipe up with your thumb to access the adjustment menu. I ordinarily start by adjusting the "Brightness" to find the right exposure for my image, and then I select the "Ambiance" tool. Increasing the "Ambiance" of your image heightens its dynamics and saturation, so you might want to adjust the brightness again after increasing it to make sure your image has stayed balanced. If you want even more vibrancy in your colours, increase the saturation up to +15. Since I tend to have a lot of green forests and plants in my images, I like to increase the "Warmth" a notch or two, just to give the highlights a sunny, golden feel.
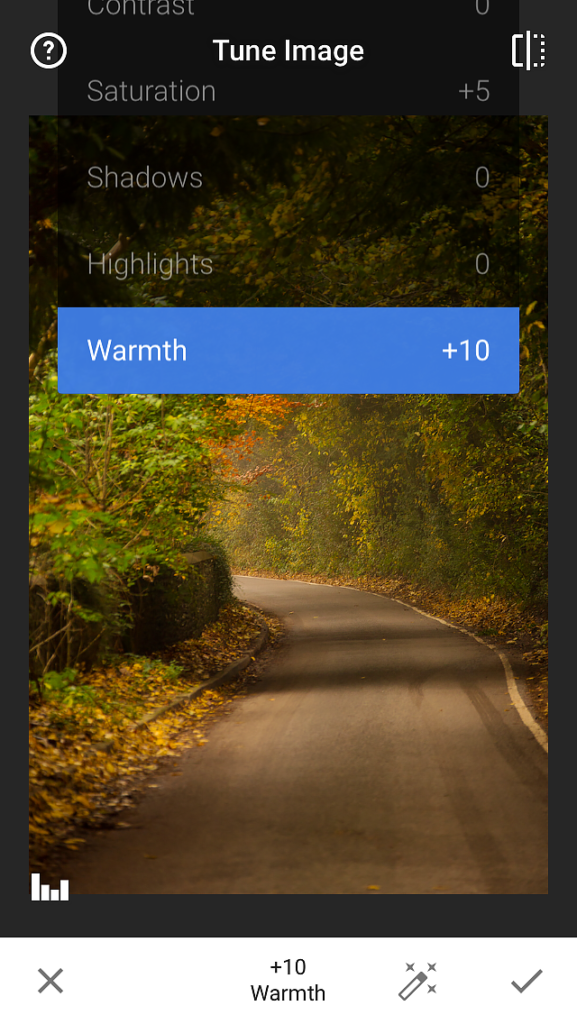
Once you're satisfied with your image temperature, brightness, and saturation, increase the contrast to up to +25. Then, if you like, select "Vignette" from the Tool Menu and decrease the outer brightness up to -50. In order to achieve the dreamy, faded look that I love, I return to the entry menu and select the three dot menu icon on the upper left to select "Open In", exporting the edited image to the VSCO app. [Continued in next step]
3. VSCO (Visual Supply Company) is my favourite filter app. It's highly sophisticated and has a really nice "film" aesthetic. In addition to offering very good basic editing tools, its many different presets accentuate different aspects of your image, allowing you to test out various looks, adjusting their strength to suit your style. My favourite VSCO filters are "Mellow" (F1-F3), "Clean" (S1-S3), "Warm" (S4-S6), "The Aesthetic Series" (A4-A6), "The Minimalist Collection" (J1-J6, A7-A10), and "The Contemporary Collection" (H1-H5, A1-2, N1-N2).
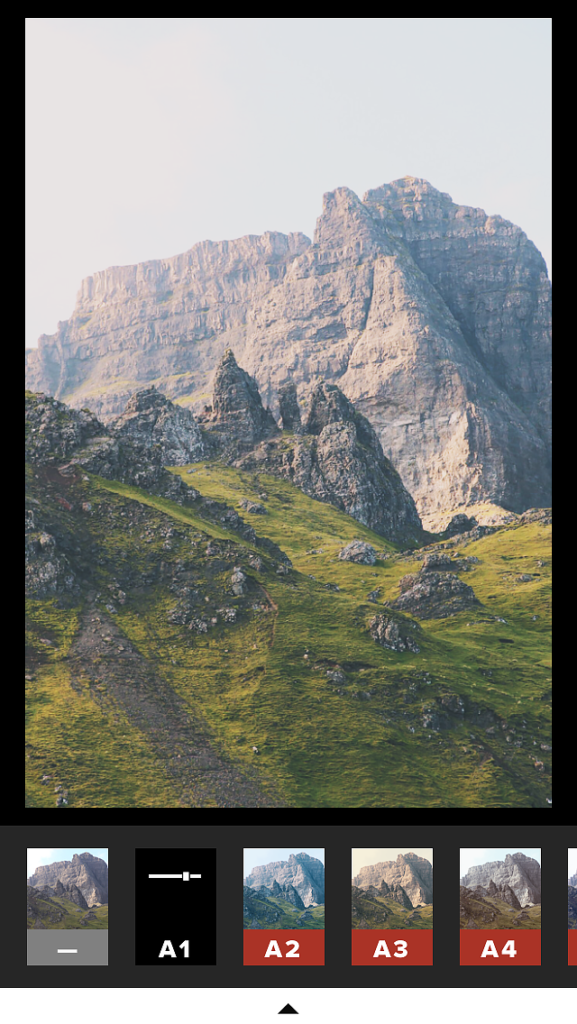
[Note: when using filters, I recommend not using the full +12 strength, as it can subtly affect image quality and give your image an over-treated look. Stick to between +4 and +10.]
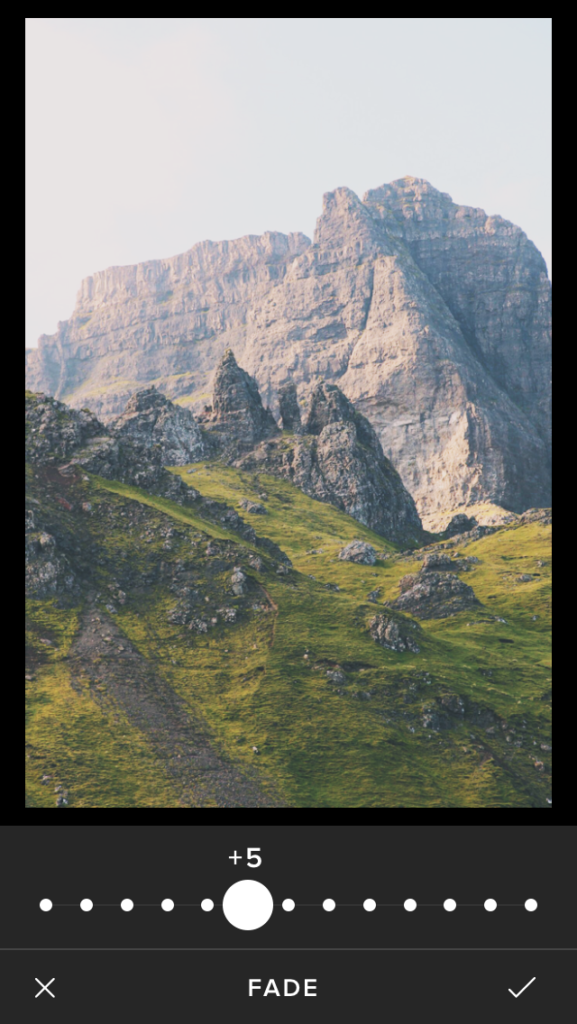
After exporting your image from Snapseed to VSCO, you can either add one of the many filters available (F1-F3 and M1-M6 are good for fade), or you can go into the Tool menu (the rectangle with the wrench on it) and select the Fade icon (the rectangle with the white to black colour gradient). Adjust the fade to achieve that coveted dreamy effect!
All of these apps have crop functions that will enable you to crop your image 1x1, or else export your full-sized image to your camera roll and upload directly onto Instagram using their new full-image feature! I love the way portrait shots look with the new layout! Good luck and enjoy!
And of course don't forget to print your Instagram photos so you have a lasting reminder of your newfound skills.
Find Lilly Husbands on Instagram: @lillylalaloulou and online: lillyhusbandsphotography.com
